

Lets get started..
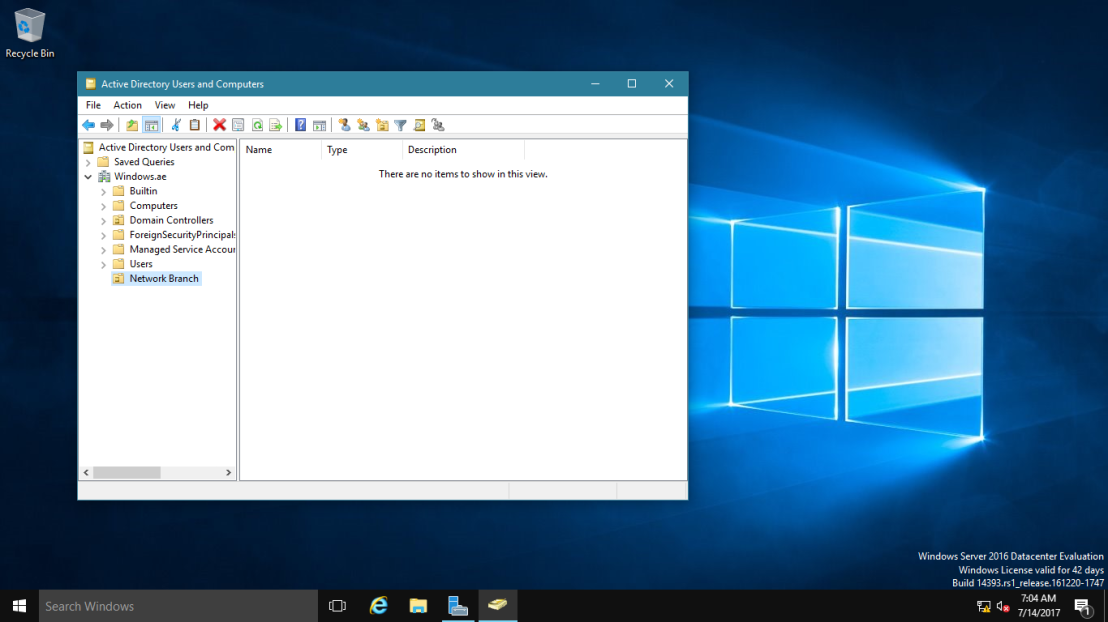
1 – For this demo, I will use my existing AD Server with Windows.ae domain and previously created empty OU call Network Branch.
My Network Branch OU is now empty without any User in it, so I would like to import 25 users in just 1 shot.
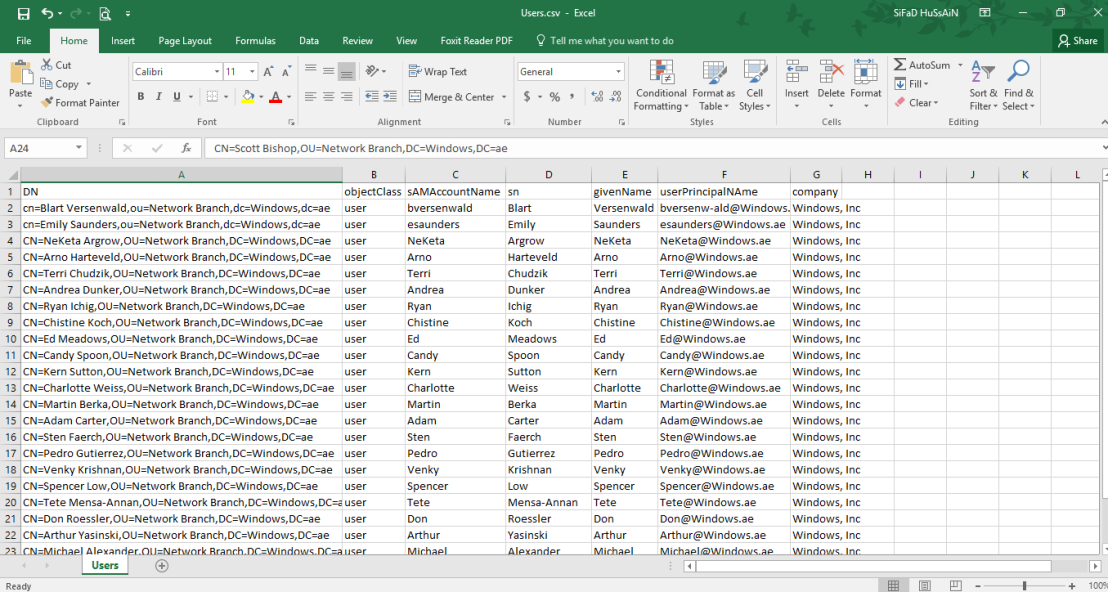
2 – For this step, you need a Notepad with Your Domain user information. This can be done in MS Excel. See example here.
DN,objectClass,sAMAccountName,sn,givenName,userPrincipalNAme
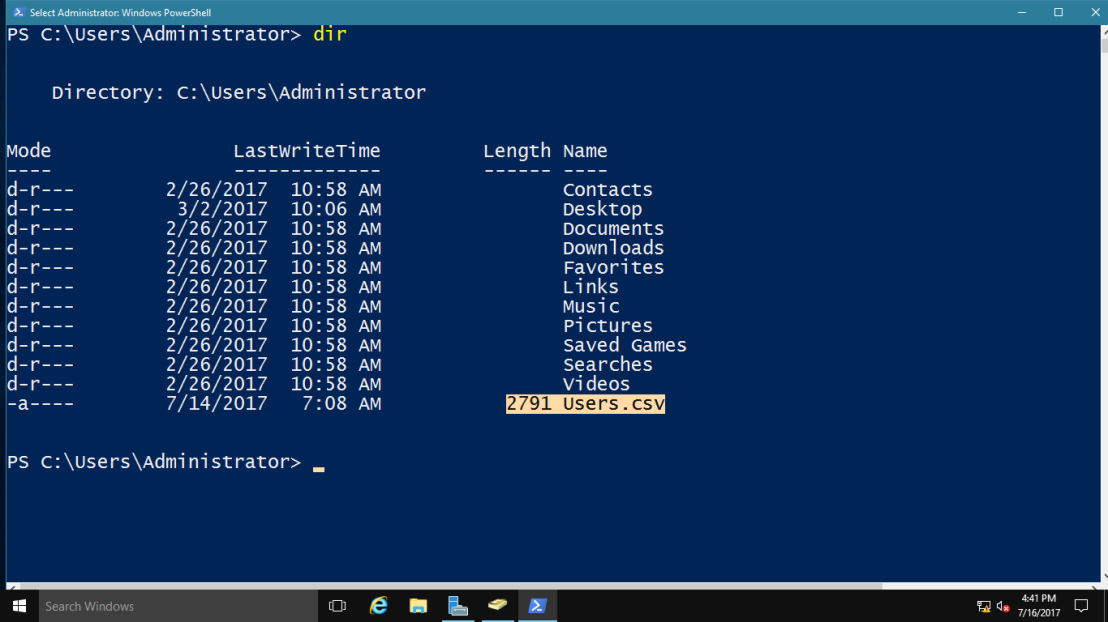
3 – After you have modify the script, save it (make sure you save it in .CSV format) & copy the script into C:\Users\Administrator folder.
verify the file by run DIR Powershell Command
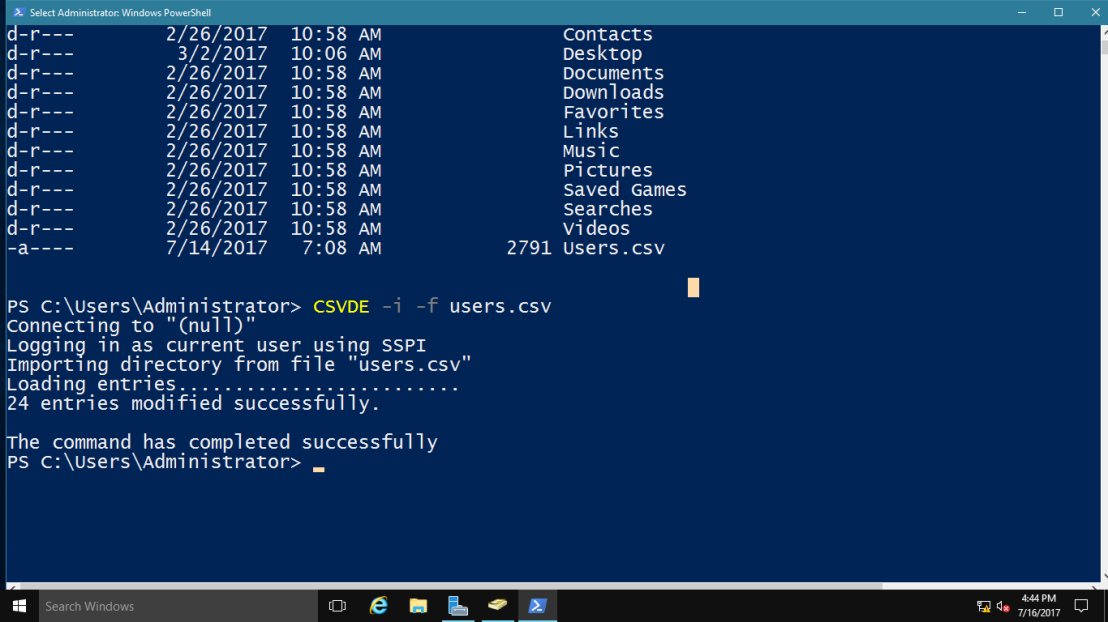
4 – in CMD, run this command and press enter :
CSVDE -i -f users.csv
if everything ok, you will see a command stated * entries modified successfully.
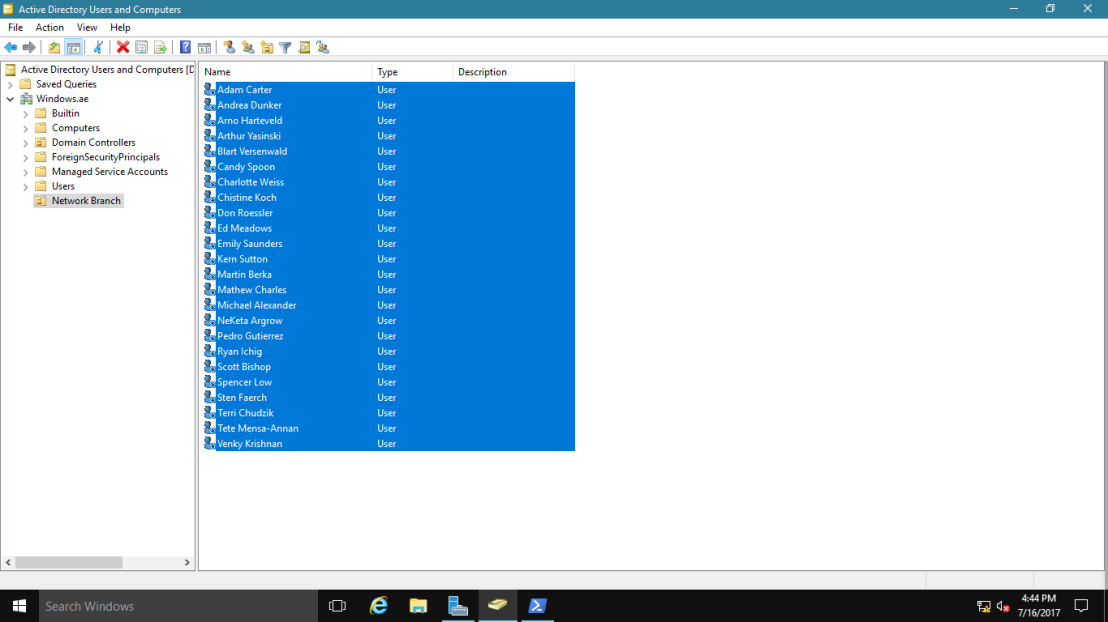
5 – Now open your Active Directory Users & Computers, and refresh the interface. You will see your users that you type in the bulk user script now listed in your specific OU.
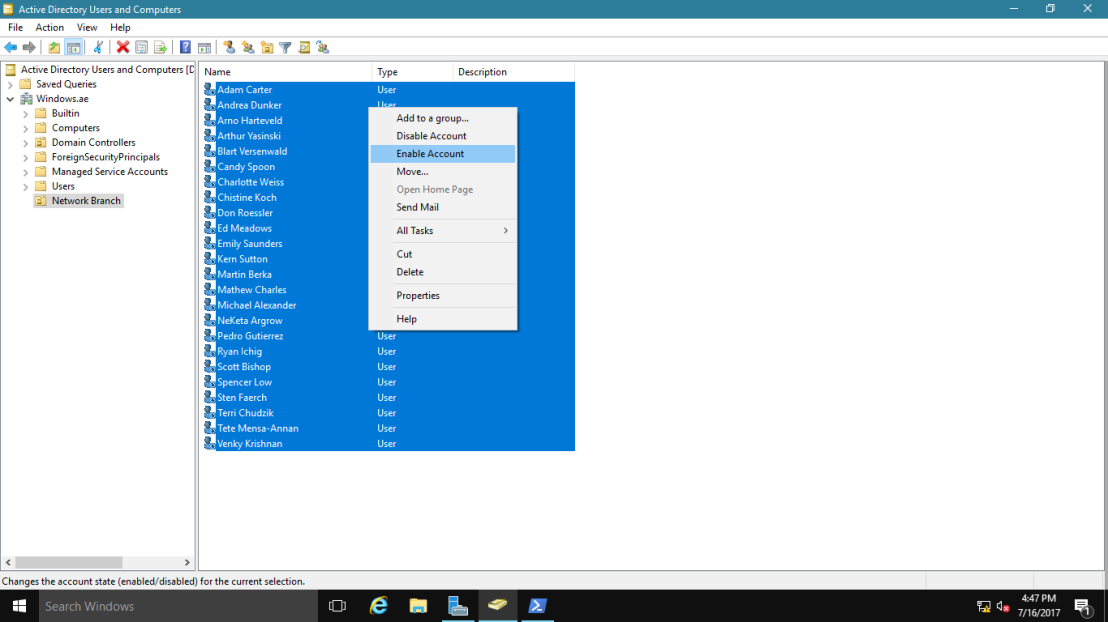
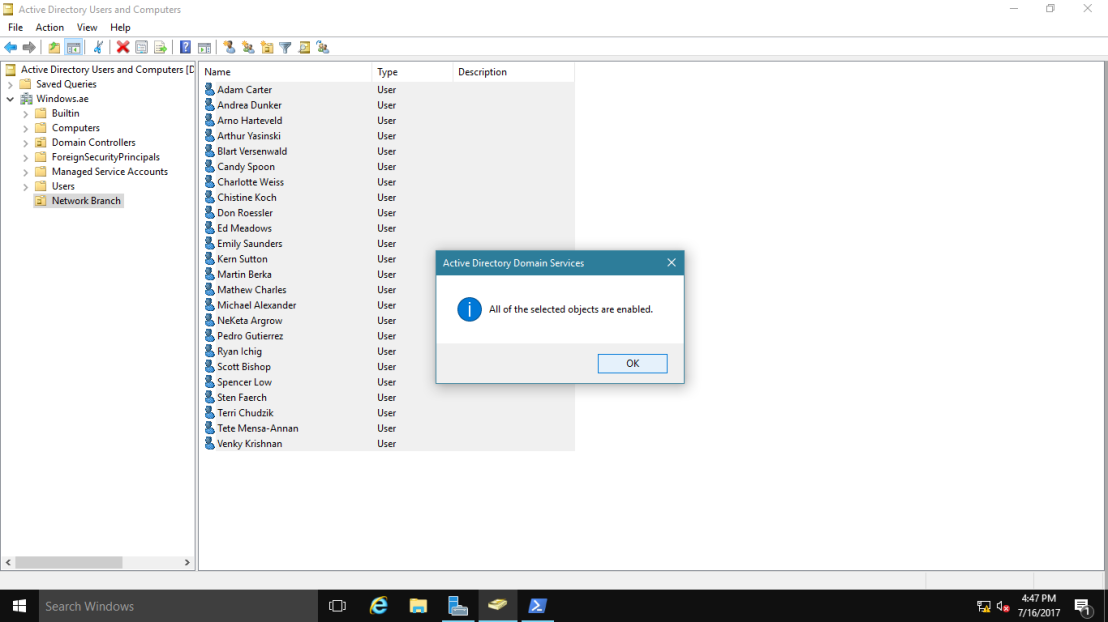
6 – Next, highlight all your newly created users, right click and choose Enable Account.
When you Enable Account, then only your selected users can log into their system.
 Thank you!
Got a project that needs expert IT support?
From Linux and Microsoft Server to VMware, networking, and more, our team at CR Tech is here to help.
Get personalized support today and ensure your systems are running at peak performance or make sure that your project turns out to be a successful one!
CONTACT US NOW