

What is NFS Server?
Using the NFS protocol, you can transfer files between computers running Windows and other non-Windows operating systems, such as Linux or UNIX.
In Windows Server 2016, NFS includes the components, Server for NFS and Client for NFS. Server for NFS enables a computer running Windows Server 2016 to act as a NFS file server for other non-Windows client computers. Client for NFS enables a Windows-based computer that is running Windows Server 2016 to access files that are stored on a non-Windows NFS server.
For this demo, Infrastructure Requirement:
- 1 DC SERVER (DC-CLOUD.Sifad.ae)
- 1 Client PC running Windows 10 (CLIENT-10)
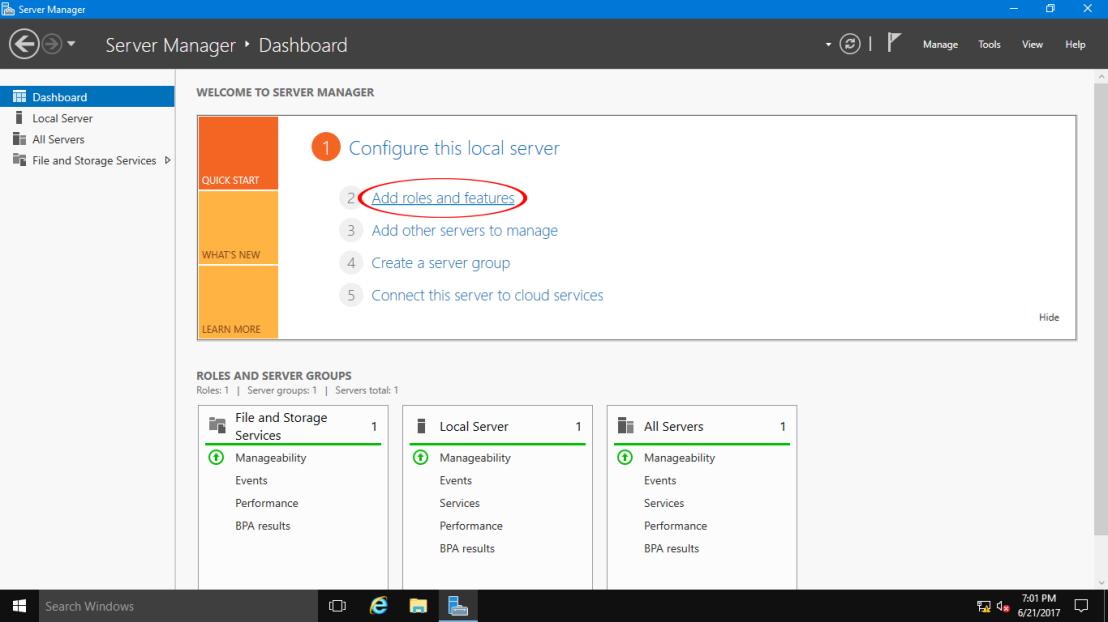
Installing NFS Server.
01 – Open Server Manager and Click Add roles and features.
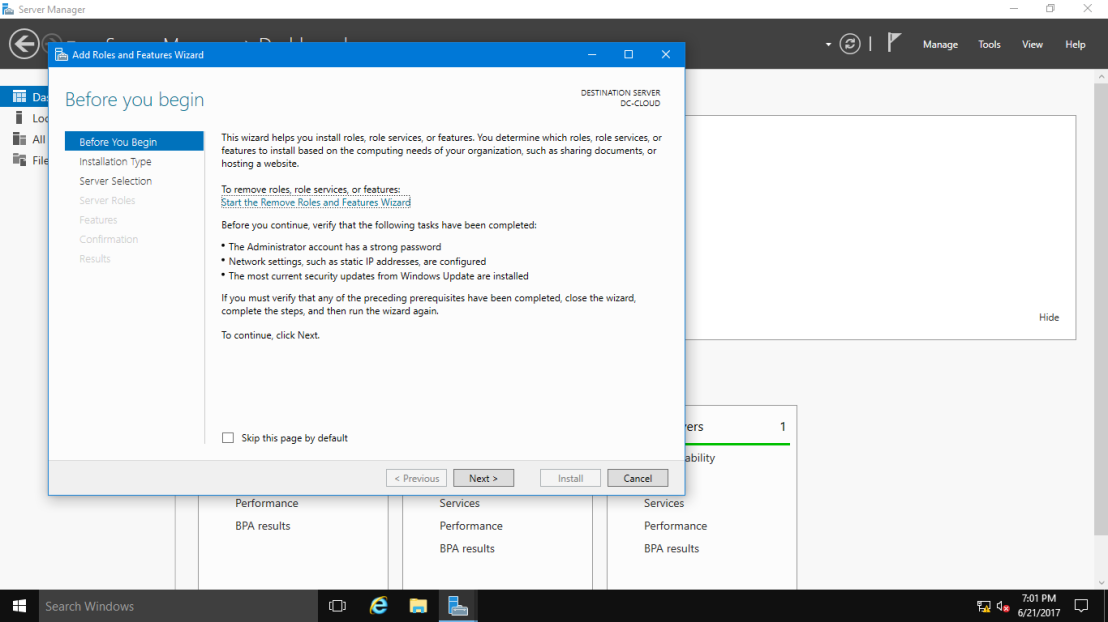
02 – Click Next button.
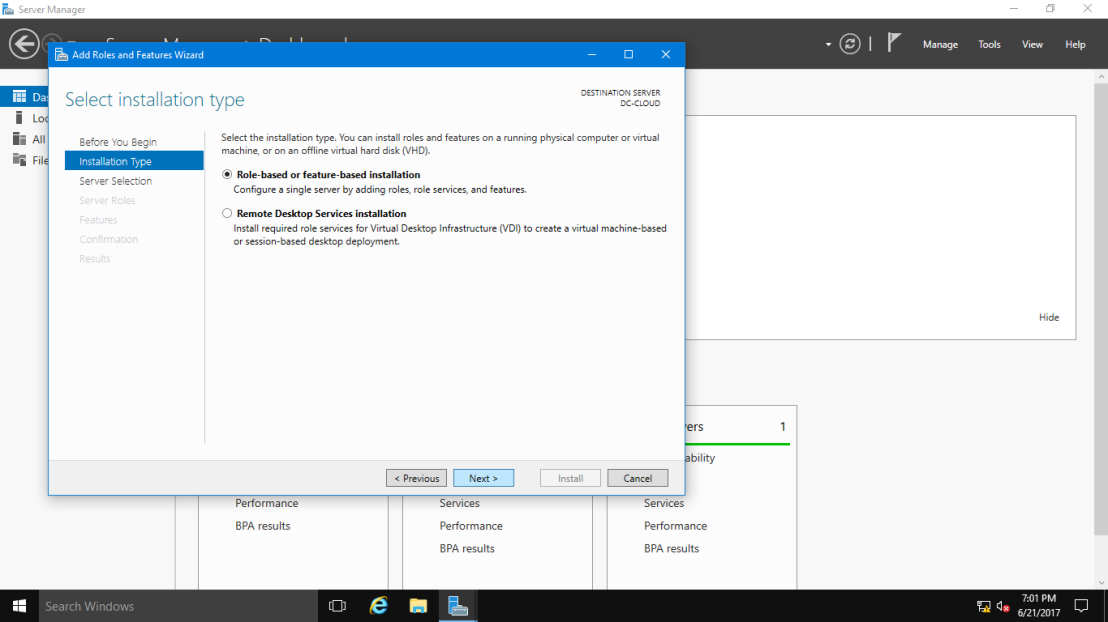
03 – Select Role-based or feature-based installation.
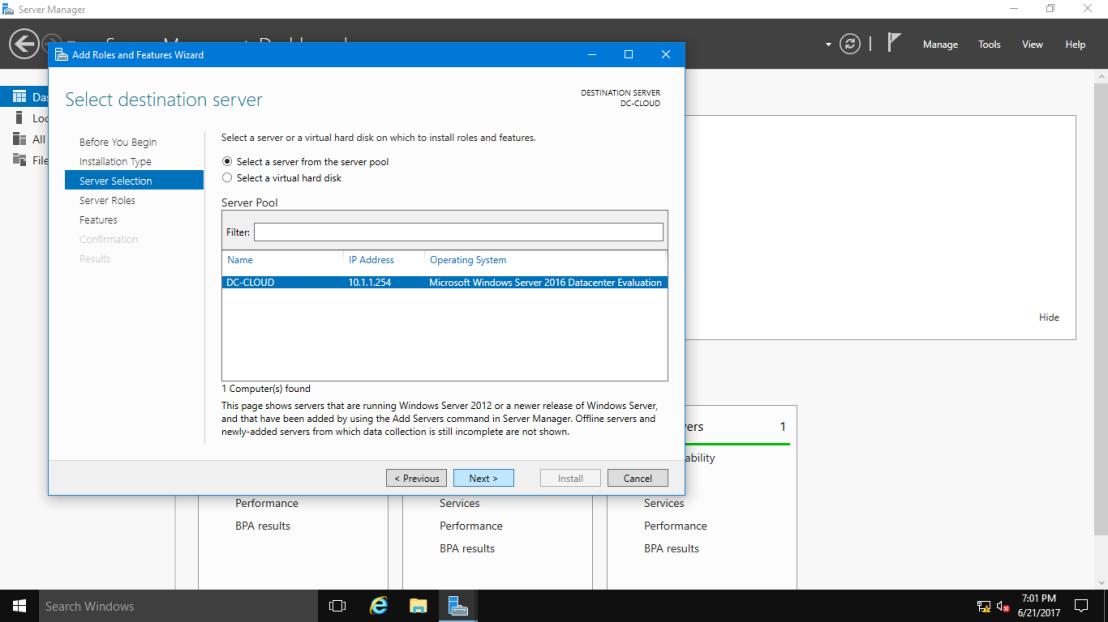
04 – Select a Host which you’d like to add services.
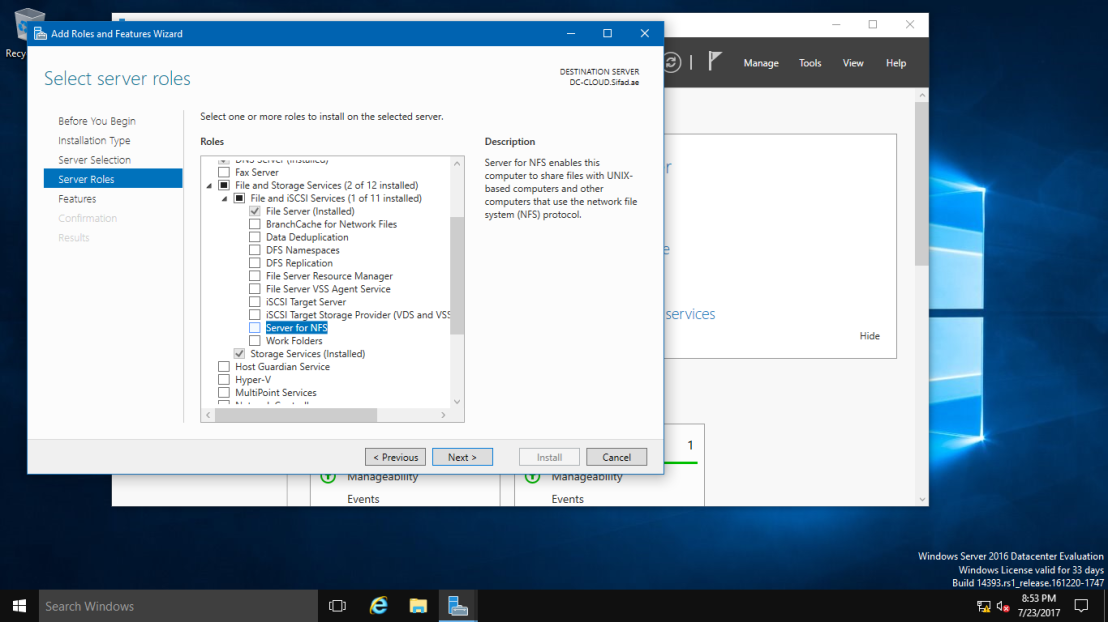
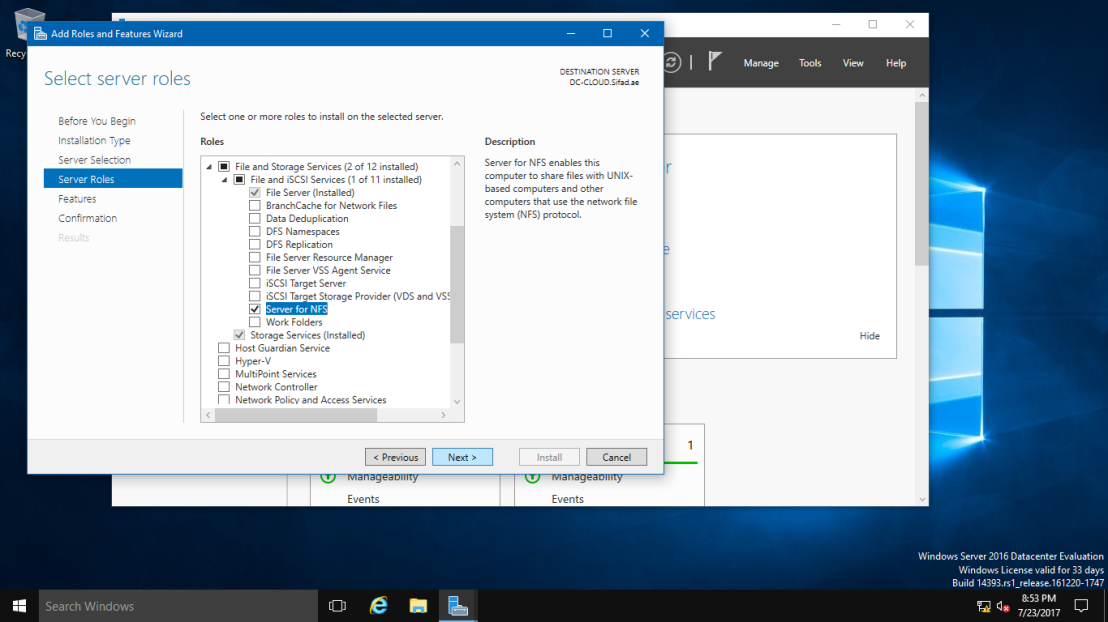
05 – Check a box Server for NFS.
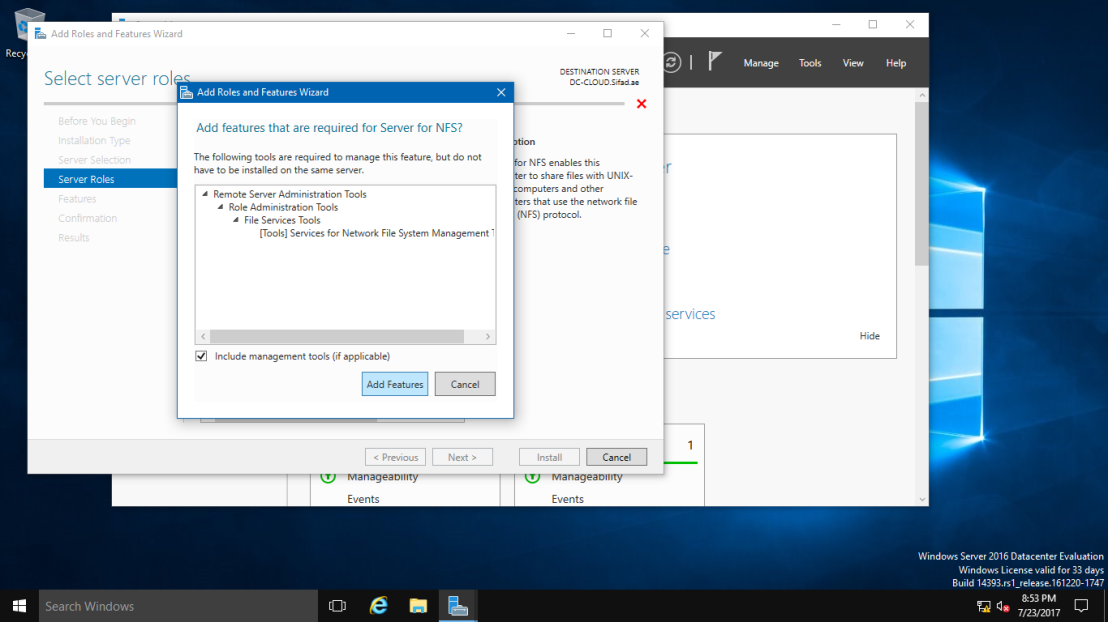
06 – Addtional features are required to add NFS Server. Click Add Features button.
07 – Click Next button.
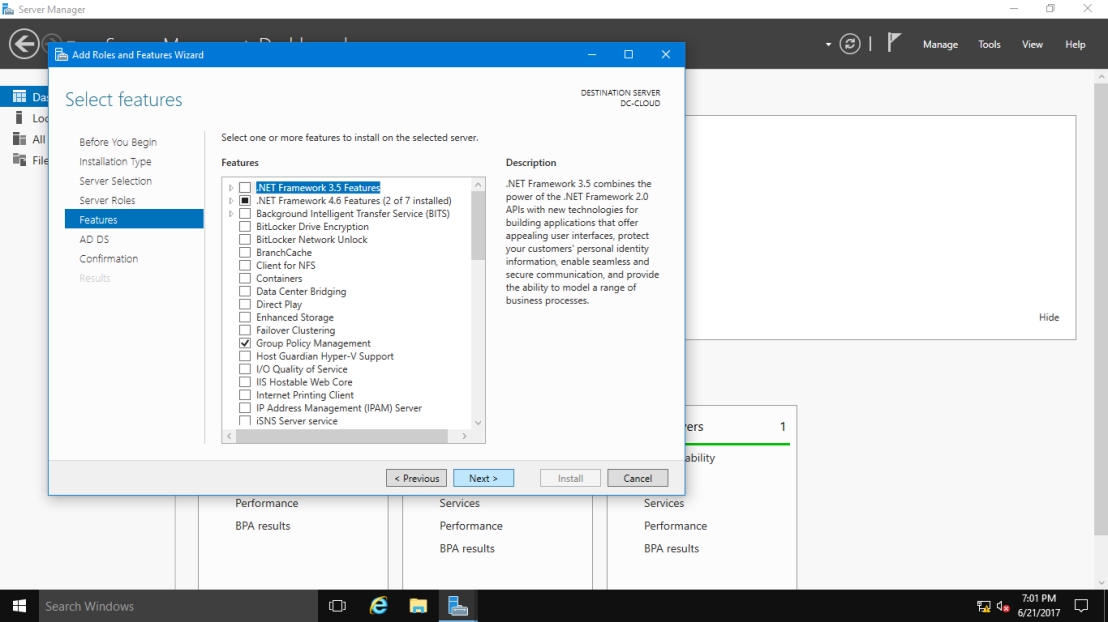
08 – Click Next button.
09 – Click Install button.
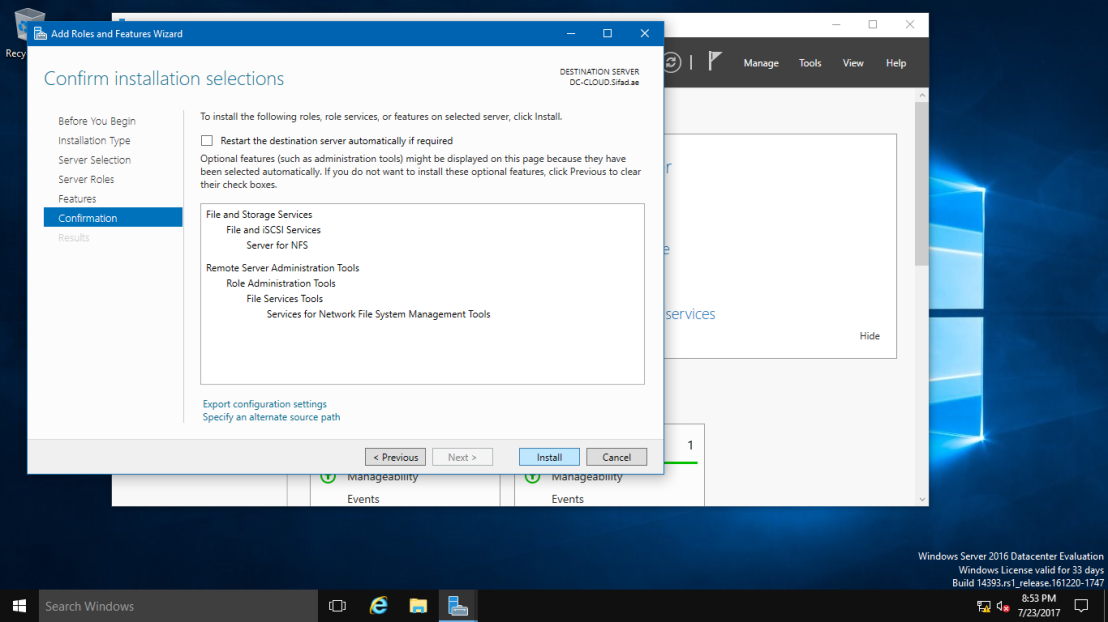
10 – After finishing Installation, click Close button.

Configure NFS Shared Folder.
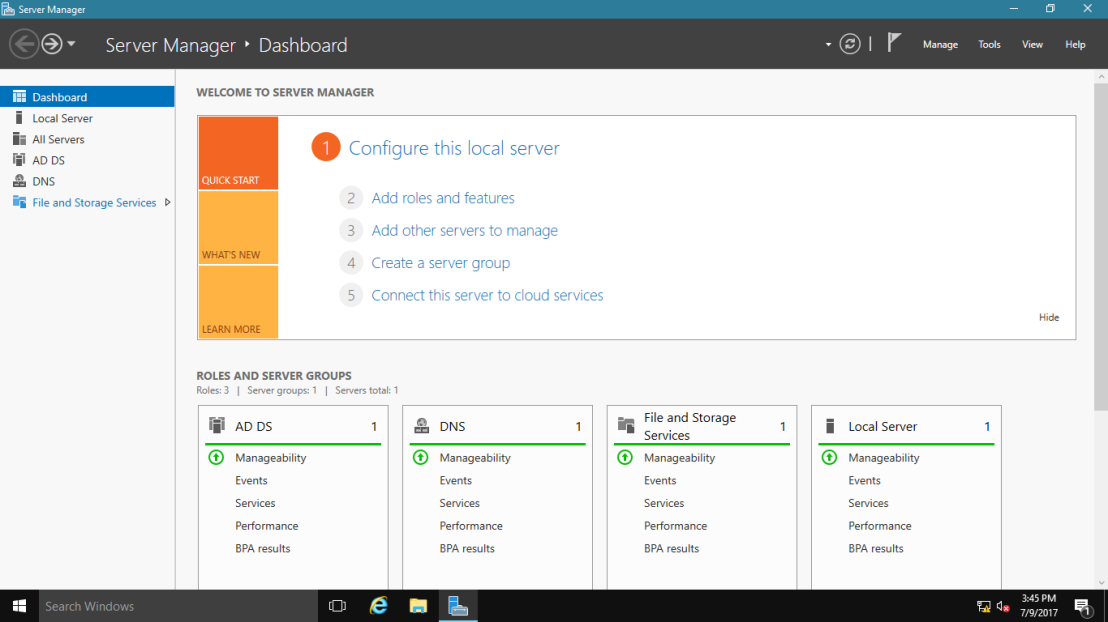
01 – Open Server Manager and Click File and Storage Services.
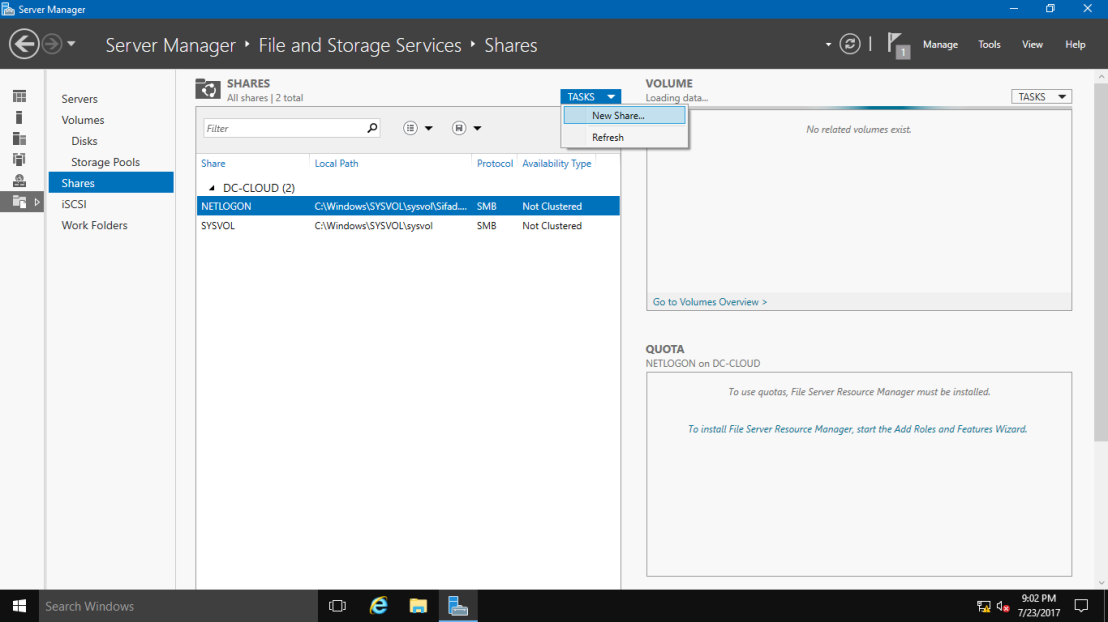
02 – Select Shares on the left pane and click TASKS – New Share.
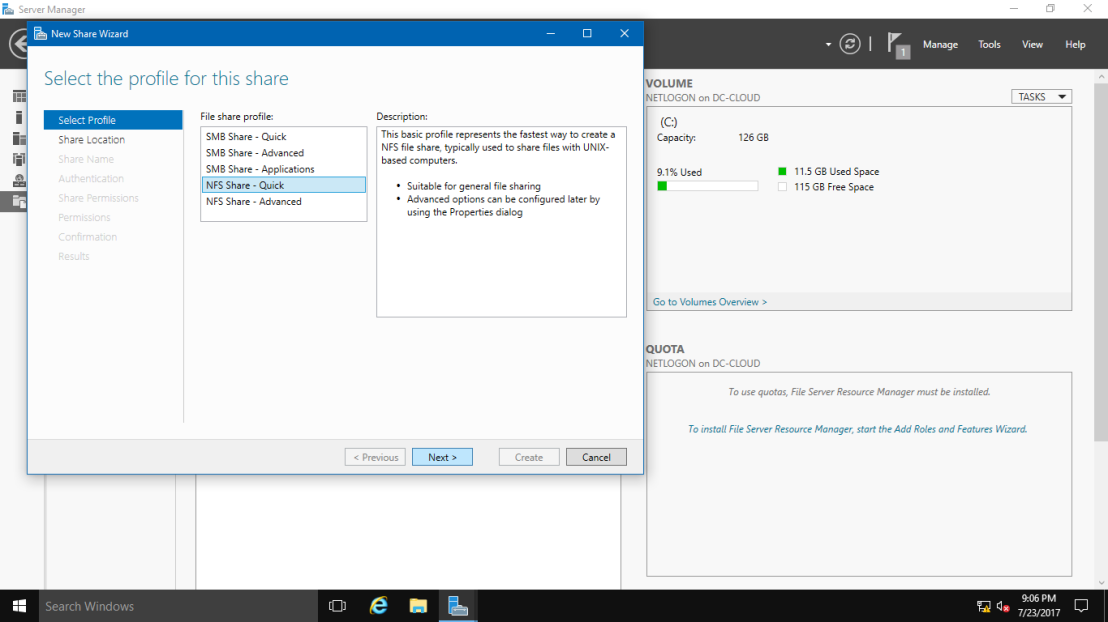
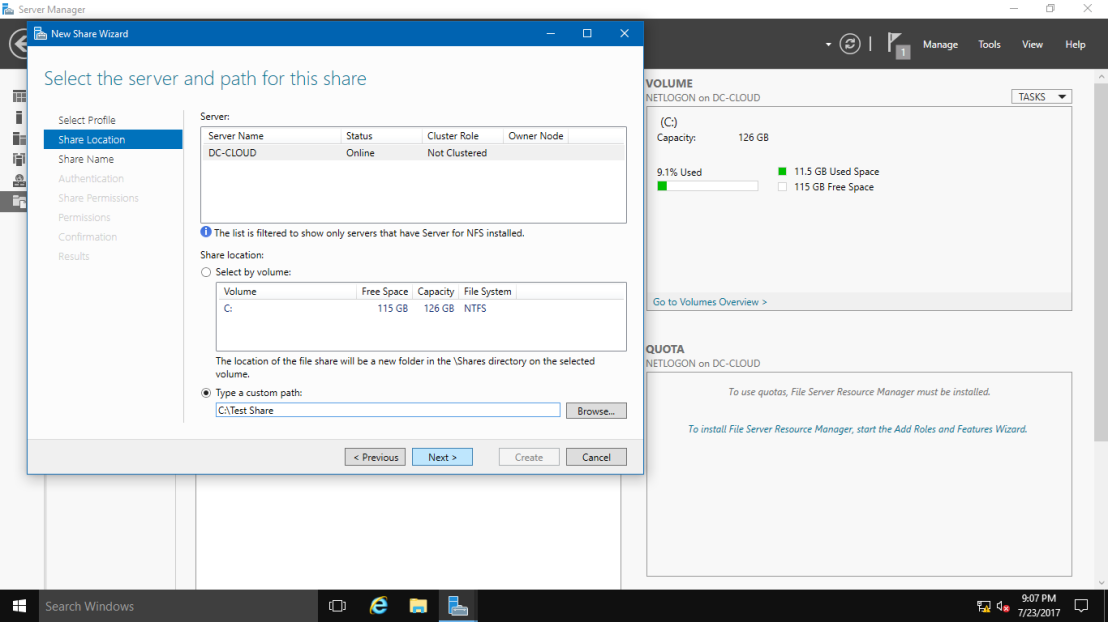
03 – For example, select NFS Share – Quick on here.
04 – For example, configure a specific folder as shared one, so check a box Type a custom path and input the path for specific folder you’d like to set as shared folder. (set as “Share” on this example).
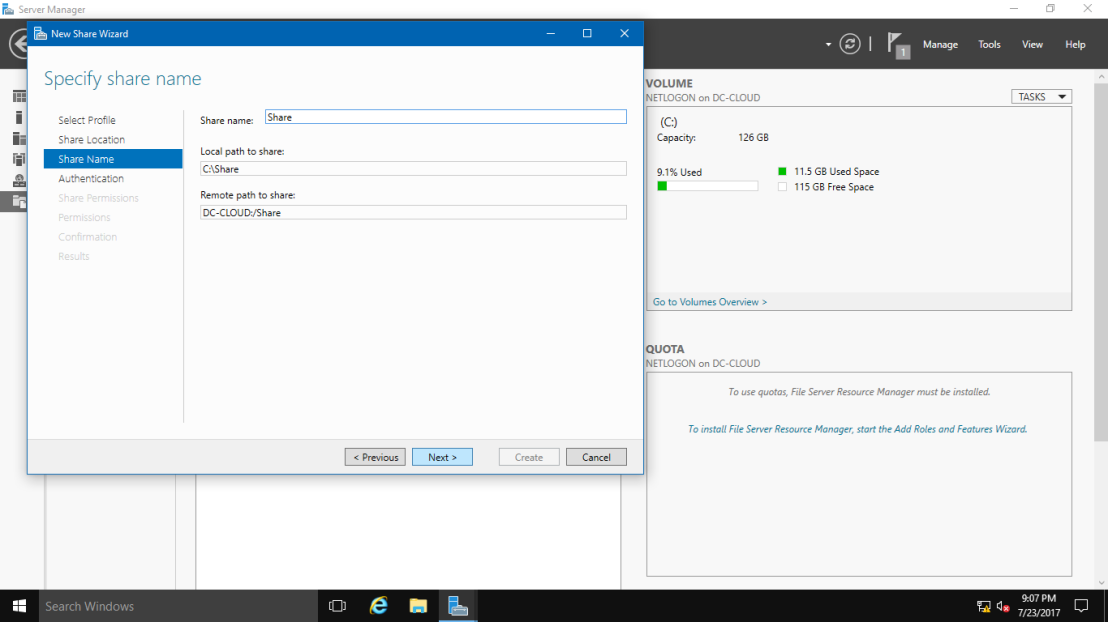
05 – Input local and remote share path.
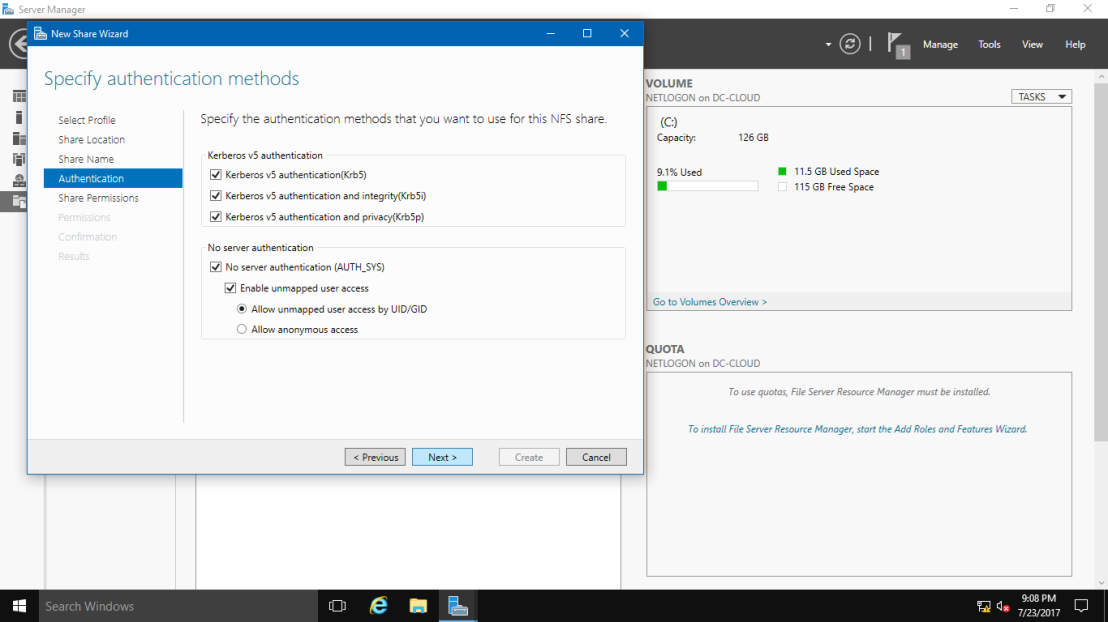
06 – Specify authentication methods.
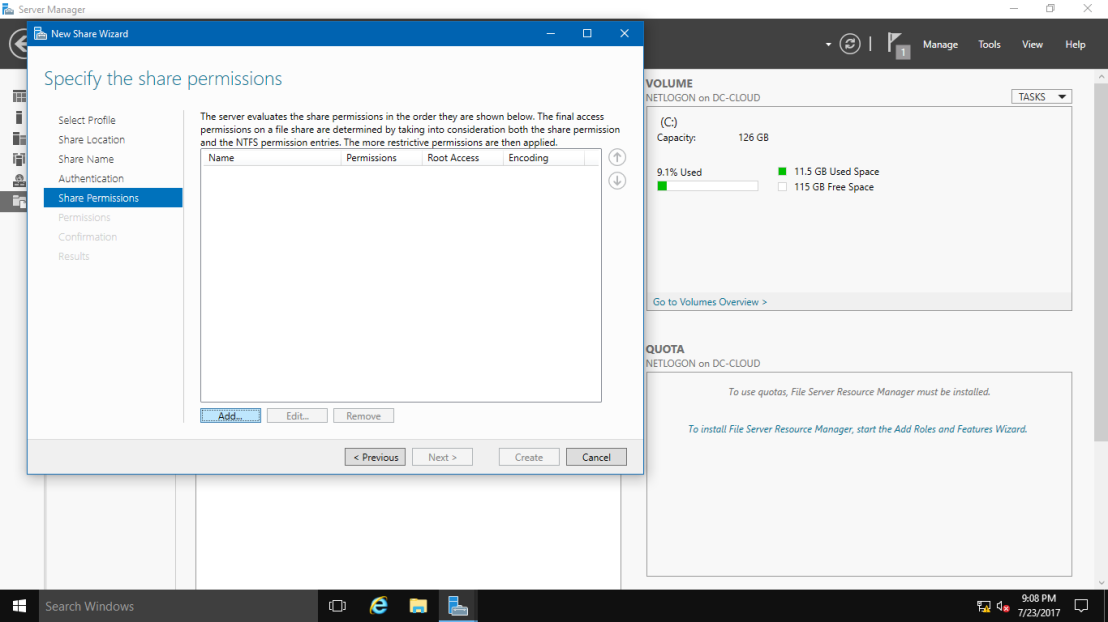
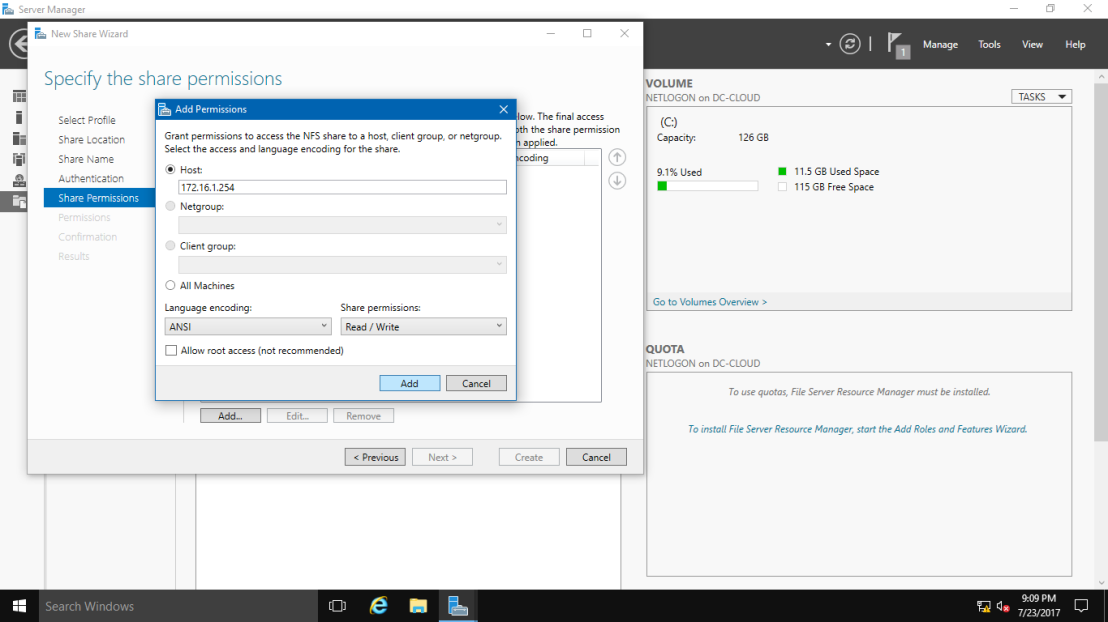
07 – Set the share permissions. Click Add button.
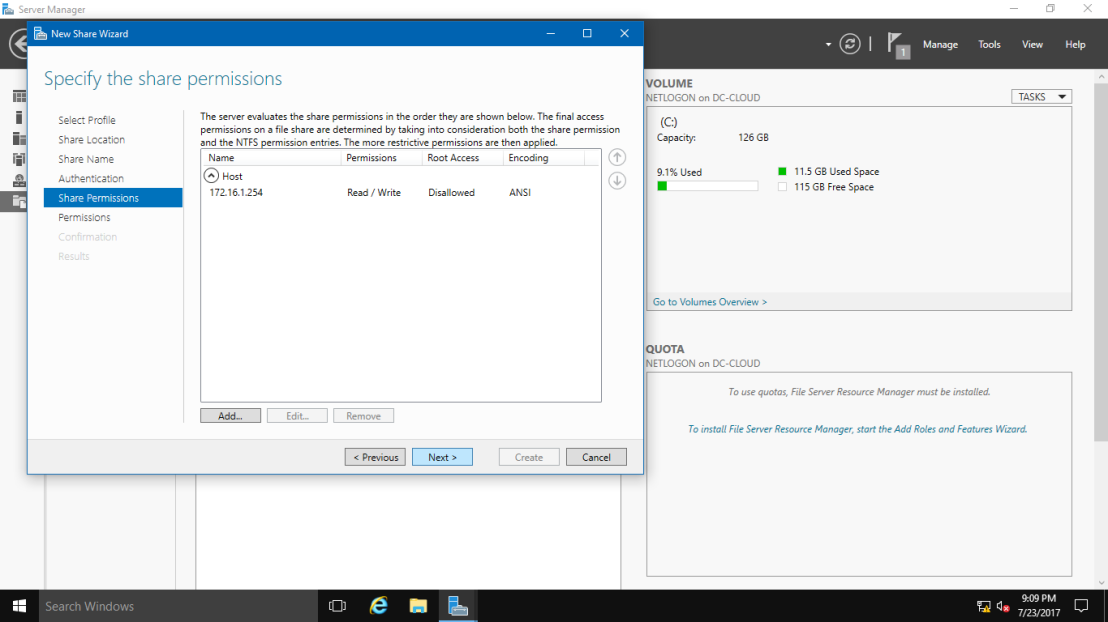
08 – Specify the Hosts you’d like to grant access permissions like the example below.
09 – Click Next button.
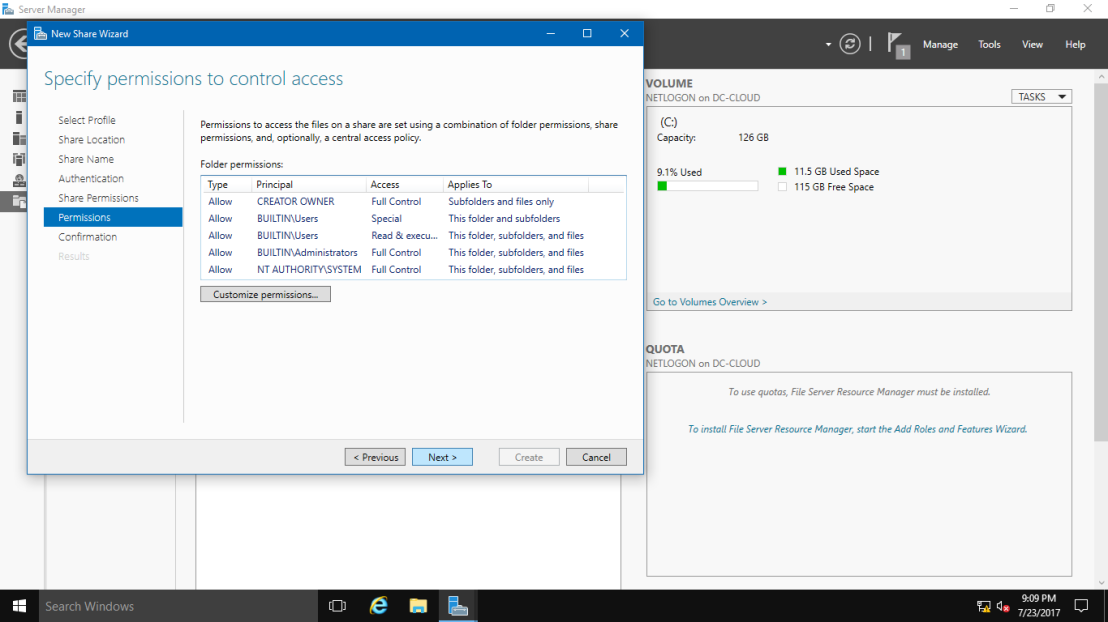
10 – Specify permissions to control access on here.
about:blankREPORT THIS AD
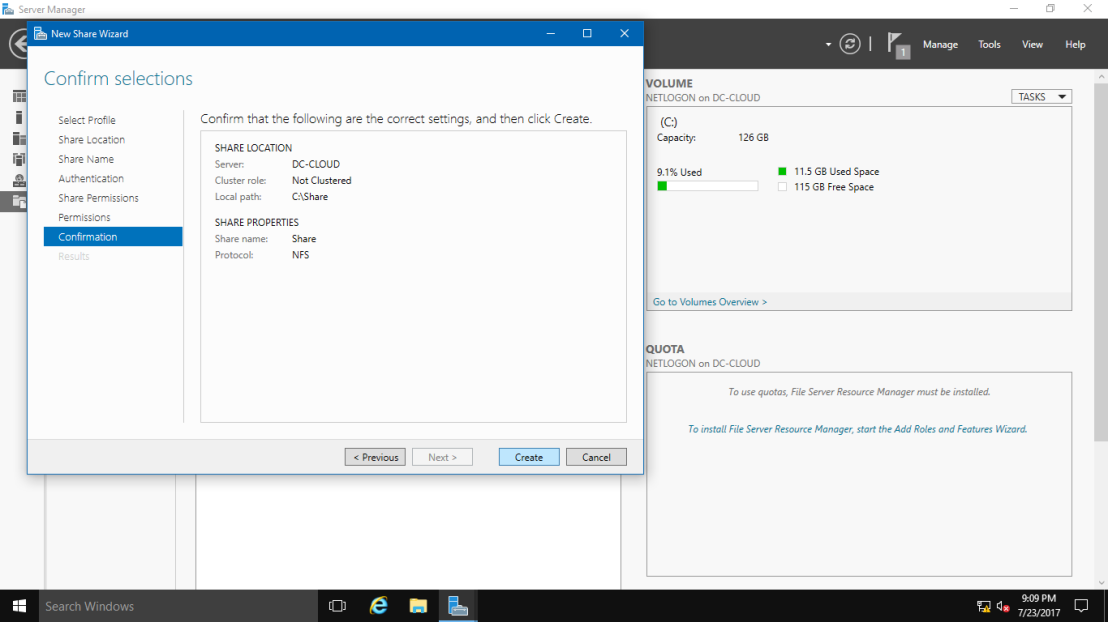
11 – Confirm selections and it’s no problem, Click Create button.
12 – After finishing creating, Click Close button.
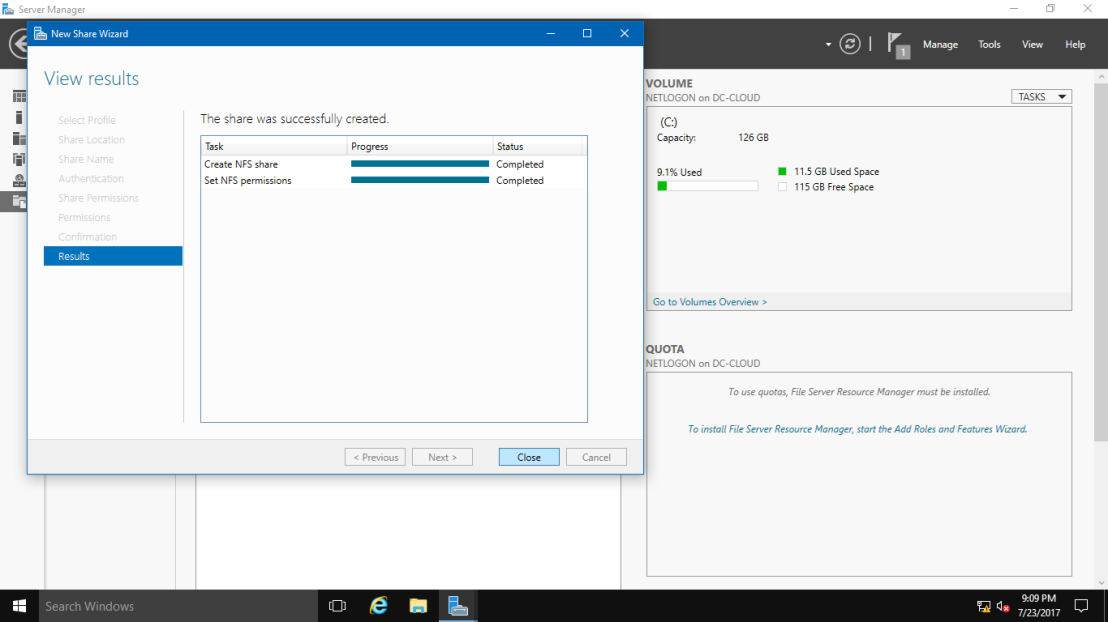
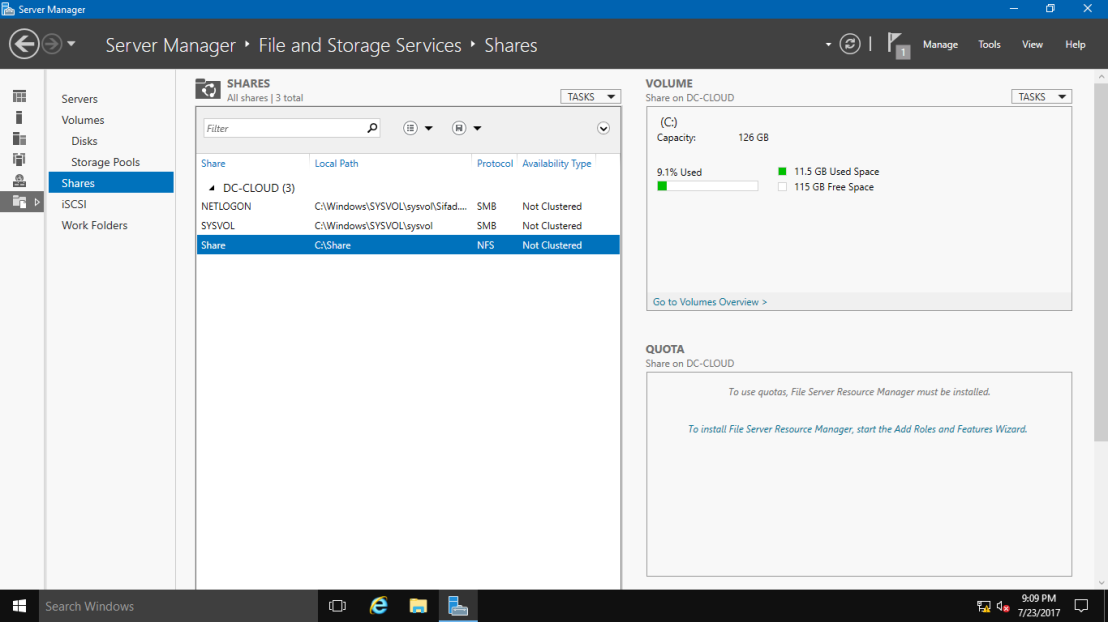
13 – NFS shared folder has been just configured.
Configure NFS Server (Linux OS).
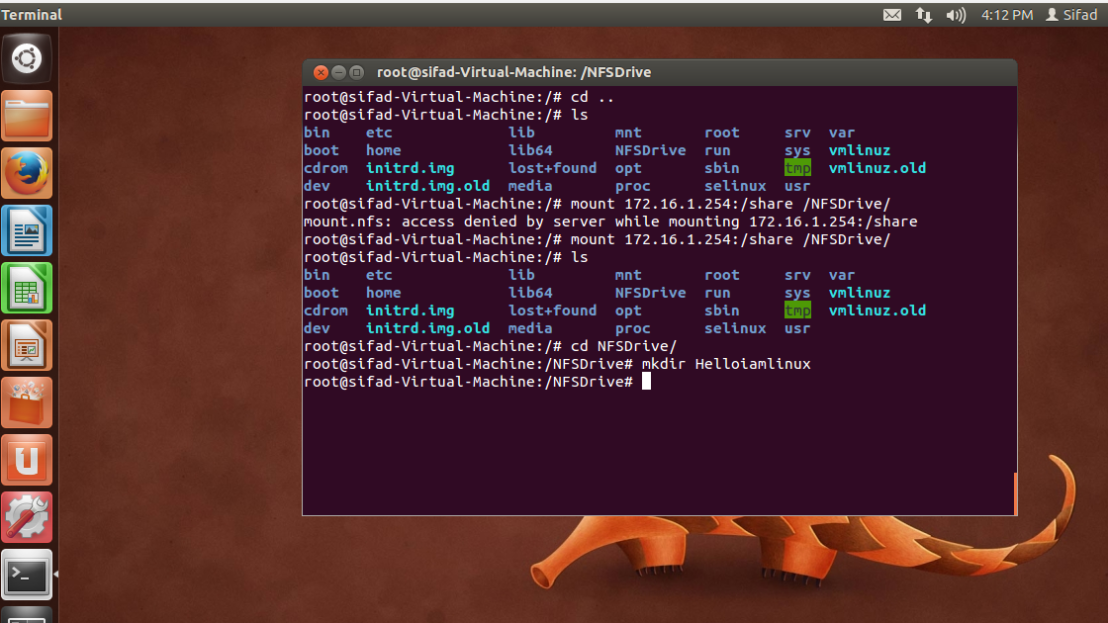
01 – Run Terminal and input commands like follows. (Please Refer to the Pictures)
mount [NFS server’s Hostname or IP address]:/[share name] [Local Folder Name to mount]
Configure NFS Client (Windows Client OS).
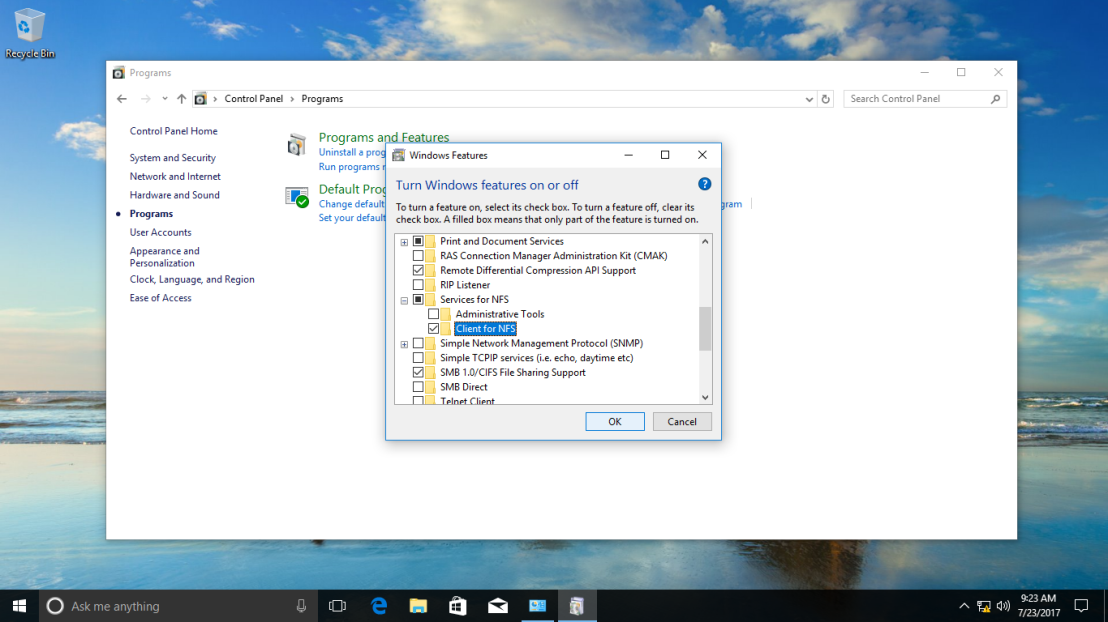
01 – Open Control Panel – Programs and Features then Check a box Client for NFS and click OK button.
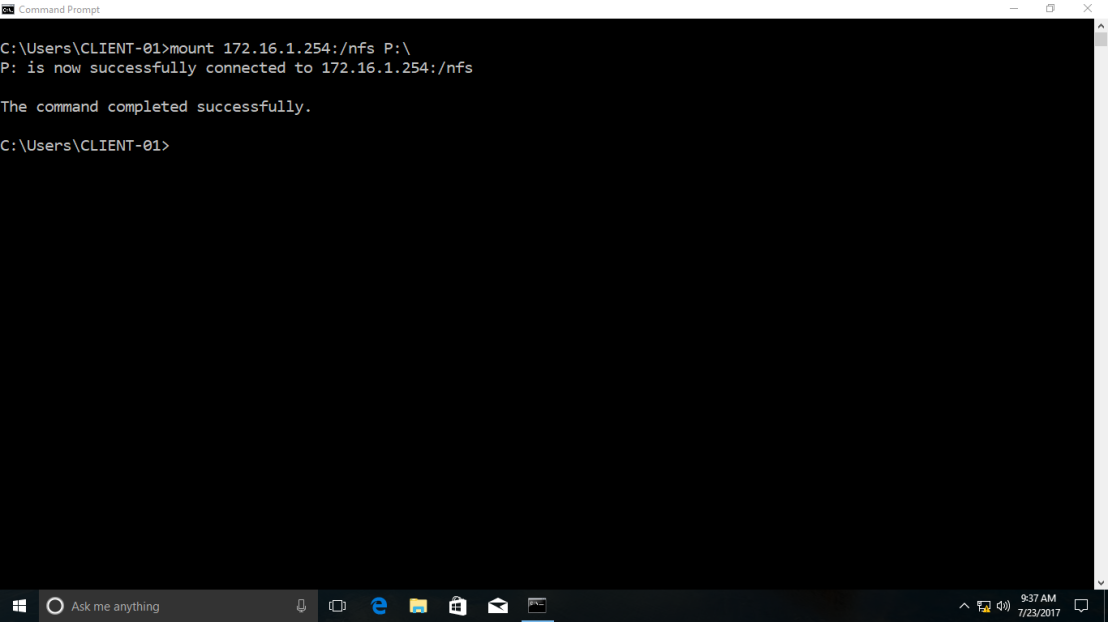
02 – Run Command Prompt and input commands like follows.
mount [NFS server’s Hostname or IP address]:/[share name] [Local Drive to mount]:\
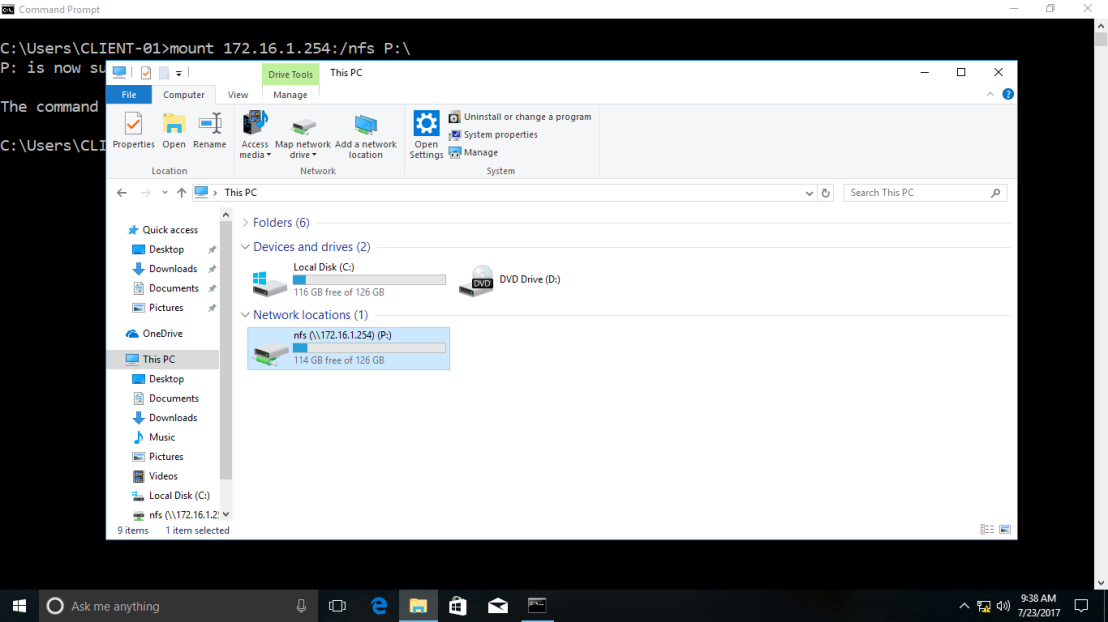
03 – Run Explorer, then NFS share folder is displayed.
Thanks!
Got a project that needs expert IT support?
From Linux and Microsoft Server to VMware, networking, and more, our team at CR Tech is here to help.
Get personalized support today and ensure your systems are running at peak performance or make sure that your project turns out to be a successful one!
CONTACT US NOW