Introduction
If you’re using PostgreSQL, you may need to remove the package from your system at some point. It’s important to know how to uninstall PostgreSQL properly to make sure all components of the package are completely removed and you don’t encounter any errors. In this article, we’ll explain how to uninstall PostgreSQL from Linux, macOS and Windows operating systems.
NOTE: Be sure to elevate the privileges for any of the commands in this article with sudo if the terminal returns a Permission denied error.
Uninstall and remove PostgreSQL on Debian Linux
You can use the apt-get command to completely remove PostgreSQL on a Debian-based distribution of Linux such as Linux Mint or Ubuntu:
| 1 2 3 |
sudo apt-get –purge remove postgresql sudo apt-get purge postgresql* sudo apt-get –purge remove postgresql postgresql-doc postgresql-common |
Grep for all PostgreSQL packages in Debian Linux
You can use the dpkg command for managing Debian packages, in conjunction with grep, to search for all the package names installed that contain the sub-string postgres. An example of this command is shown below:
| 1 | dpkg -l | grep postgres |
Finally, make sure to use the APT-GET repository’s --purge remove command, followed by the postgres package name. This command will remove the package and purge all the data associated with it:
| 1 | sudo apt-get –purge remove {POSTGRESS-PACKAGE NAME} |
Remove all of the PostgreSQL data and directories
Use the rm command with the -rf options to recursively remove all of the directories and data for the postgresql packages:
| 1 2 3 |
sudo rm -rf /var/lib/postgresql/ sudo rm -rf /var/log/postgresql/ sudo rm -rf /etc/postgresql/ |
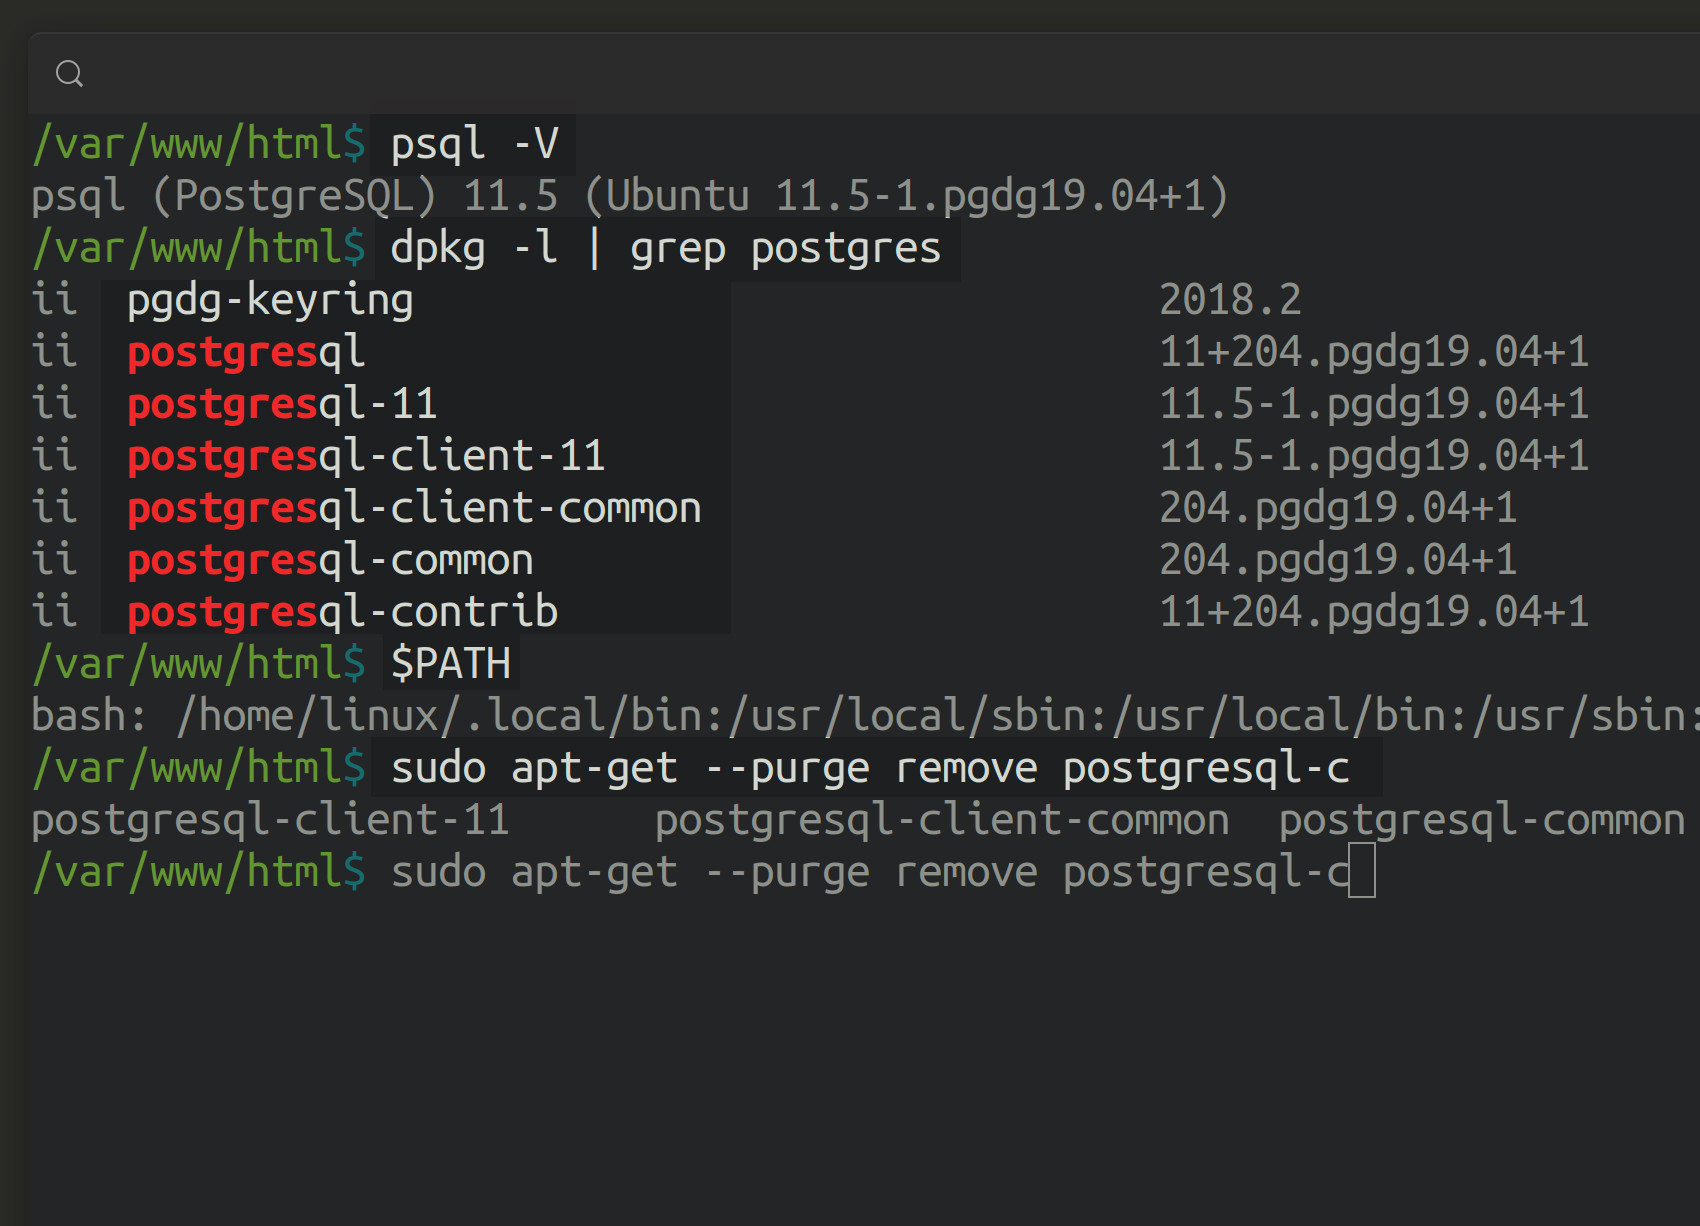
After you complete your rm commands, execute the dpkg -l | grep postgres command one more time to verify that all of the packages have been removed.
Uninstall and remove PostgreSQL packages on Fedora Linux
You can use the YUM repository’s yum command to uninstall PostgreSQL on Fedora-based distributions of Linux such Red Hat or CentOS:
| 1 | yum remove postgresql |
To use a wildcard operator (*) to remove all packages with names beginning with postgres, use the following command:
| 1 | yum remove postgres\* |
Be sure to remove the pgsql directory as well:
| 1 | rm /var/lib/pgsql |
NOTE: Keep in mind that sudo is not enabled for RHEL users by default. Instead, use the su (switch user) command to enter as root and execute the above commands with elevated privileges if necessary.
Grep for the PostgreSQL packages in Fedora using ‘rpm’
You can use the rpm command with the -qa options to grep for any packages that contain “postgres” in their name:
| 1 | rpm -qa | grep postgres |
If you prefer, you can shorten the search to something like post as well:
| 1 | rpm -qa | grep post |
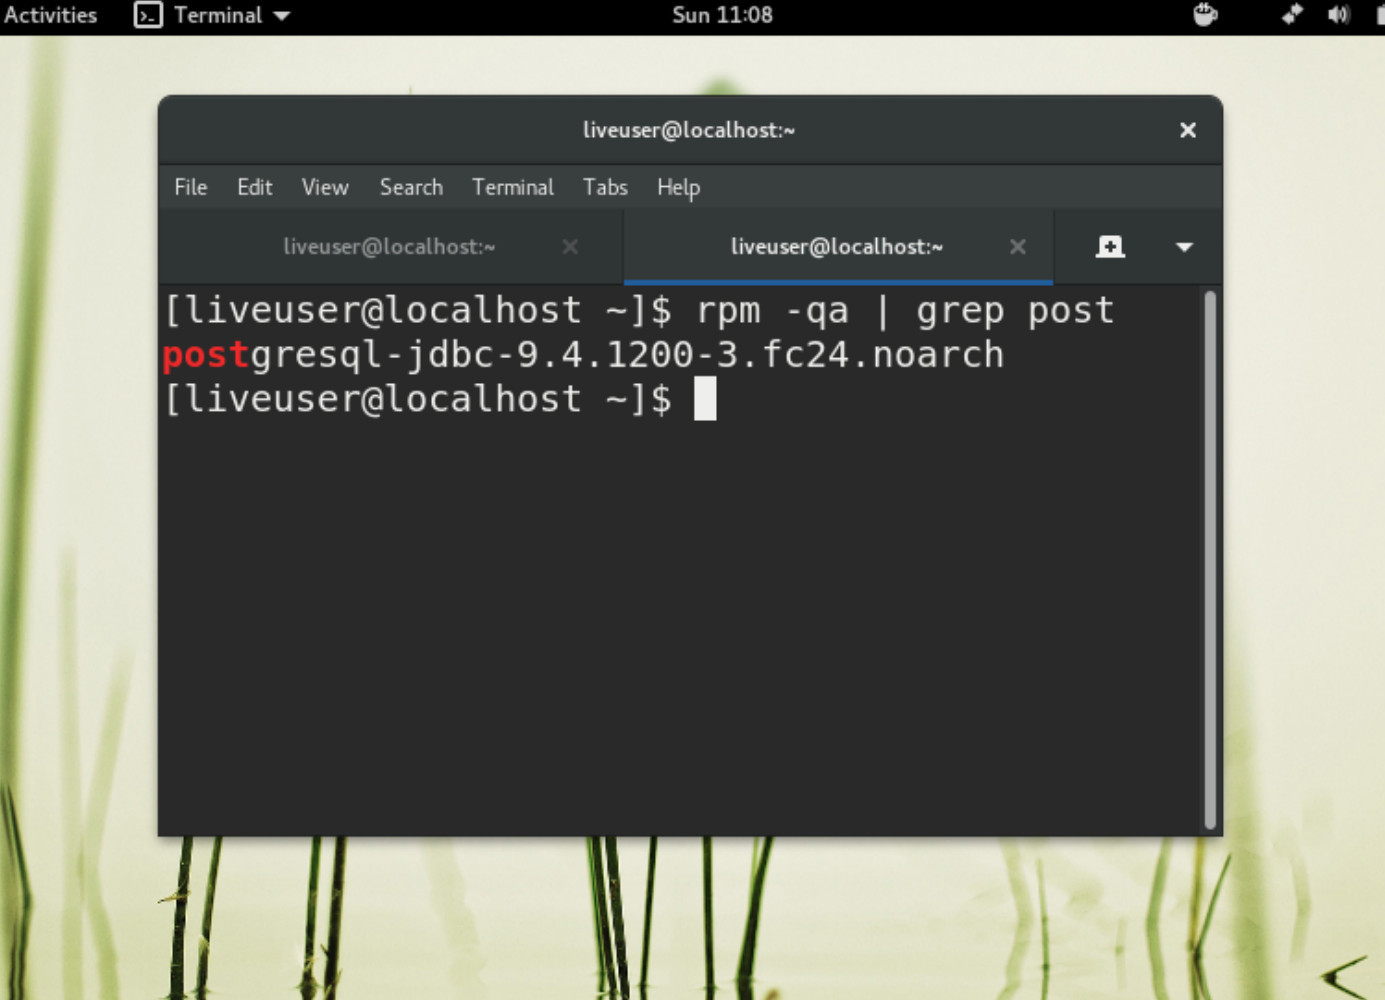
You can also use grep in conjunction with YUM’s list command to return a list of all package instances of PostgreSQL:
| 1 | yum list installed | grep postgres |
Uninstall the PostgreSQL package using YUM remove
Once you’ve located the package, use YUM’s remove command to uninstall PostgreSQL from your Linux system:
| 1 | yum remove {POSTGRESS-PACKAGE NAME} |
Navigate to the assigned directory for the PostgreSQL data, and then use the rm command to delete all of your databases and tables.
Uninstall and remove PostgreSQL from Windows
If you’re using Windows, type uninstall or remove into the search bar at the bottom left-hand side of the screen:
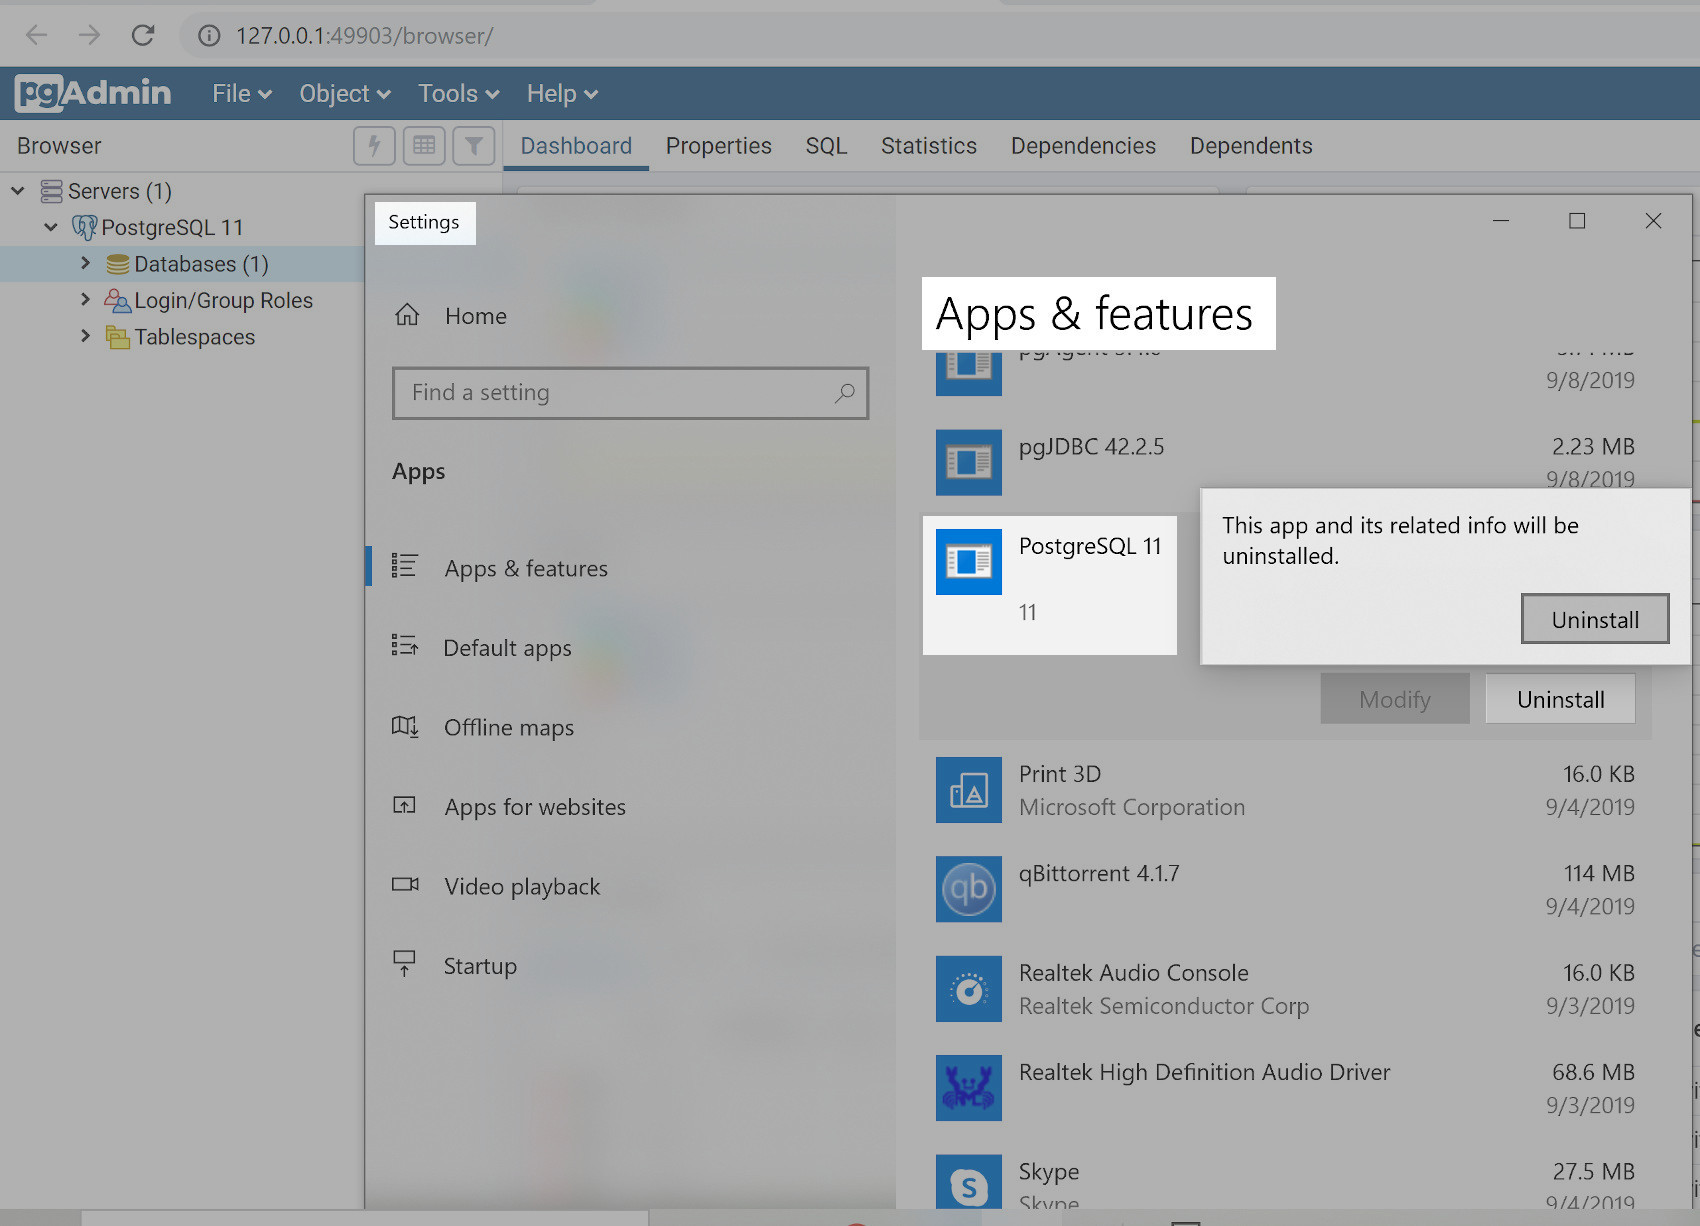
Then, follow the steps for the removal process, making sure to select the “Entire Components option when prompted.
You’ll see a pop-up stating something like: The data directory s(C:\Program Files\PostgreSQL\11\data) has not been removed. Simply click “OK” to close the pop-up window, and do not select the option to restart your PC.
Delete the data folder for PostgreSQL in Windows
After you’ve completed the removal process described in the previous section, open File Explorer for Windows and navigate to the data folder. Right-click the data folder and click the Delete button. Be sure to empty the recycle bin afterwards to ensure that any sensitive data has been properly deleted.
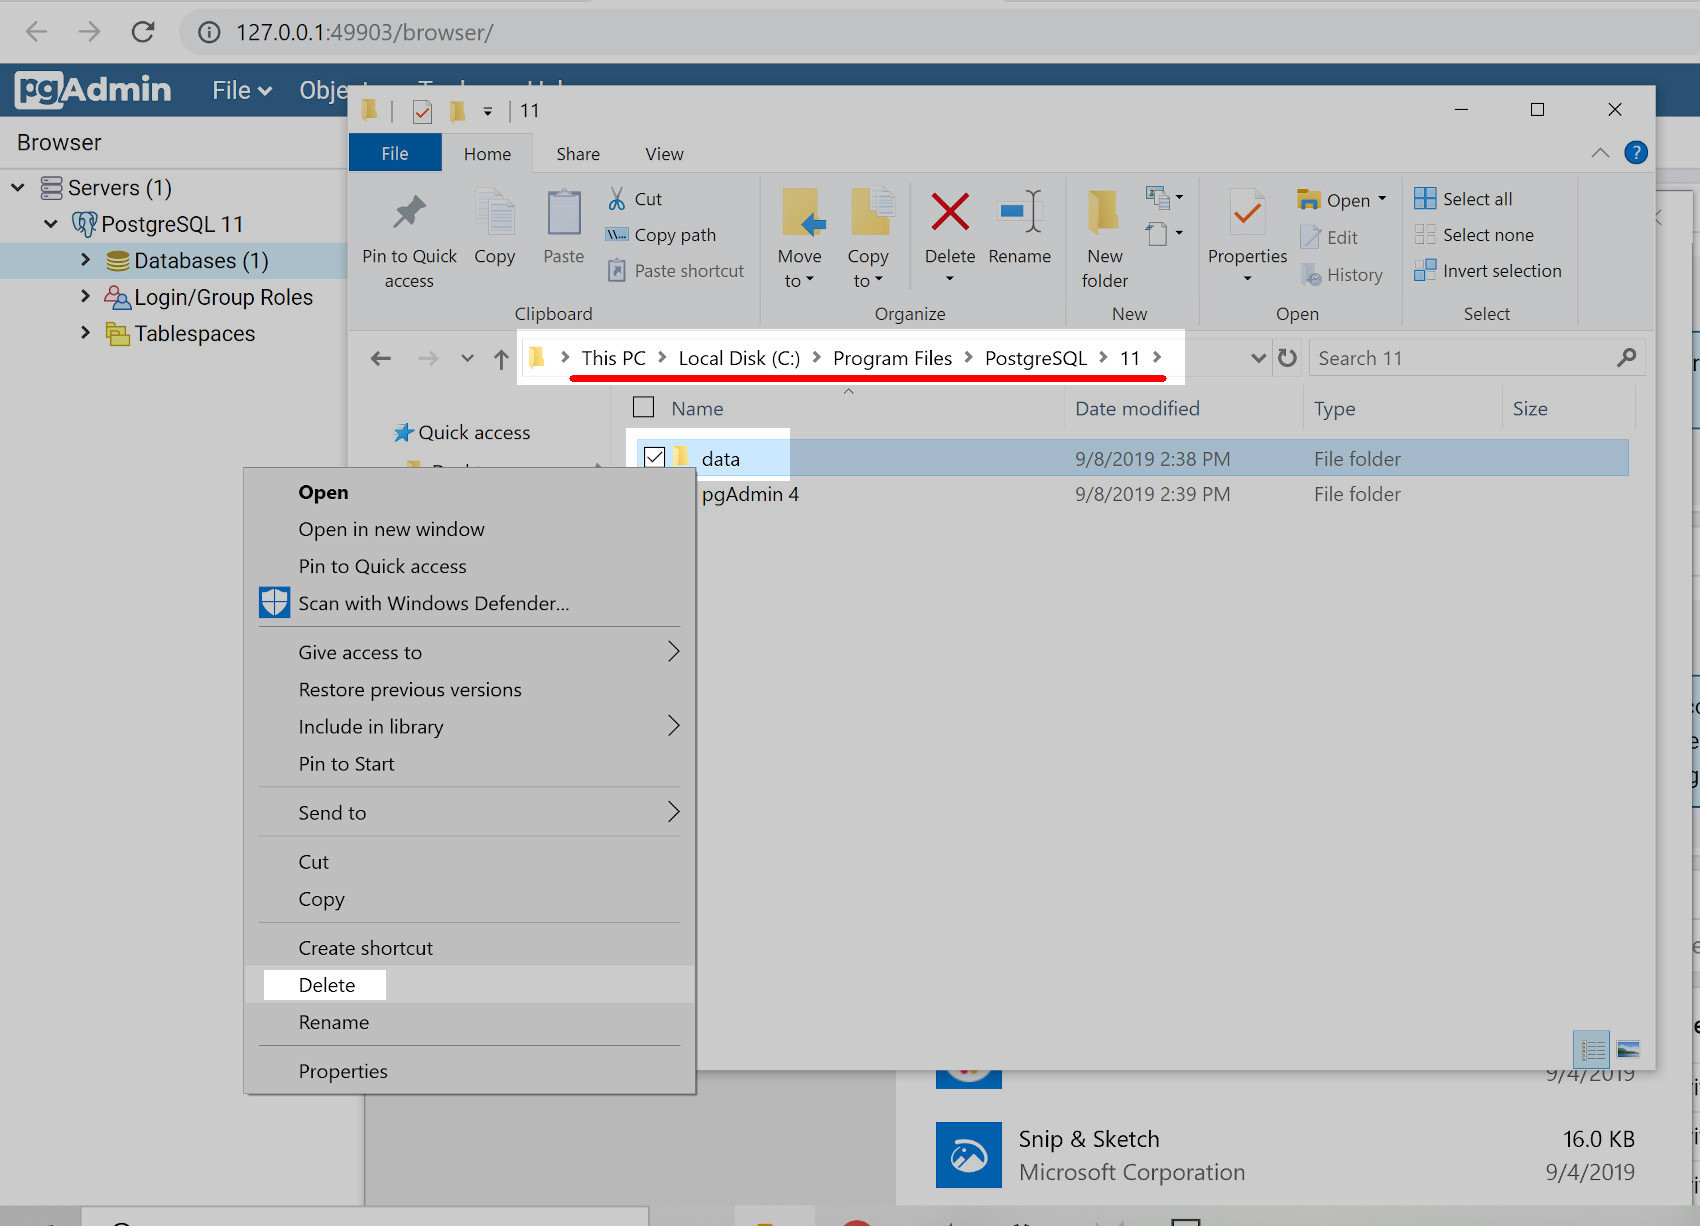
After all of the data has been deleted, you should restart Windows 10.
Uninstall and remove PostgreSQL on macOS
To uninstall PostgreSQL on macOS, open a new instance of Finder and navigate to the Applications directory. Look for the PostgreSQL folder and drag its contents to the Trash application folder in macOS.
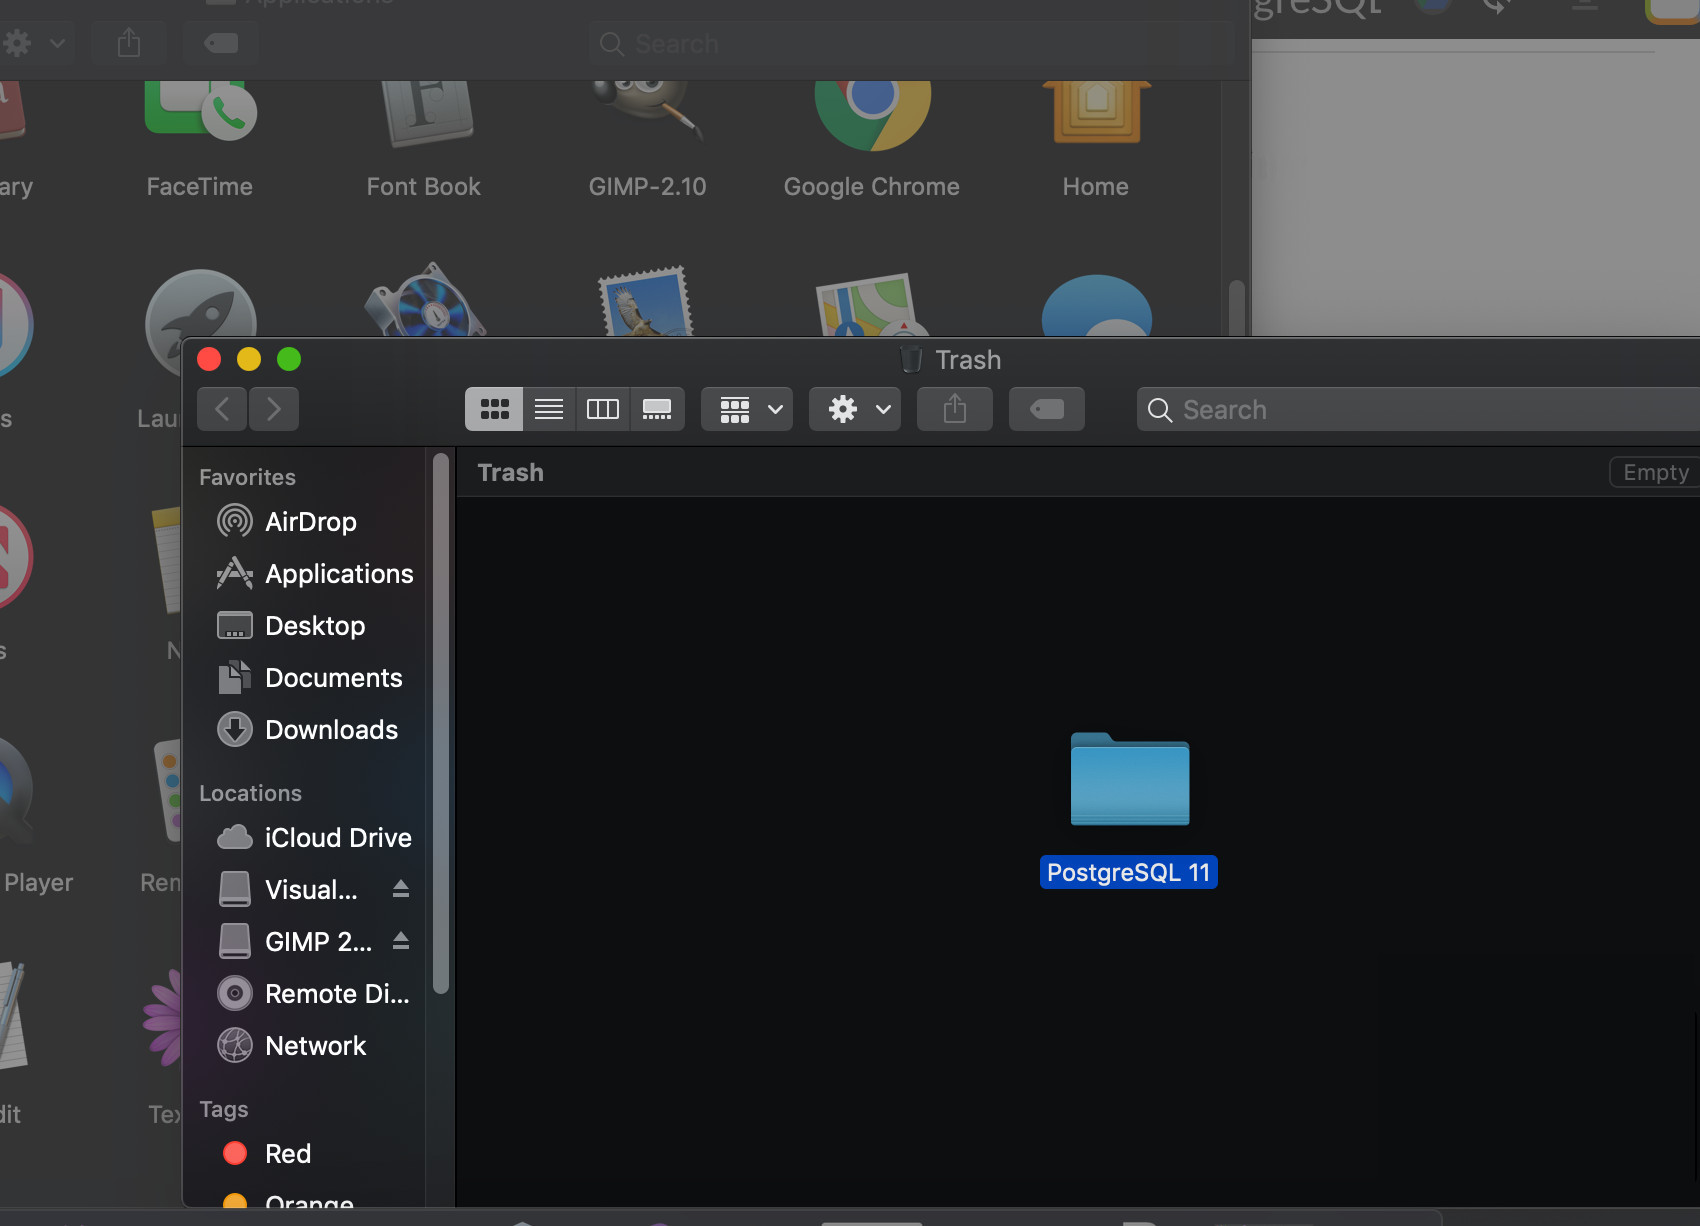
Remove the PostgreSQL data in a terminal in macOS
After you’ve removed the PostgreSQL folder, open the Utilities folder in a Finder window, and then open the Terminal application.
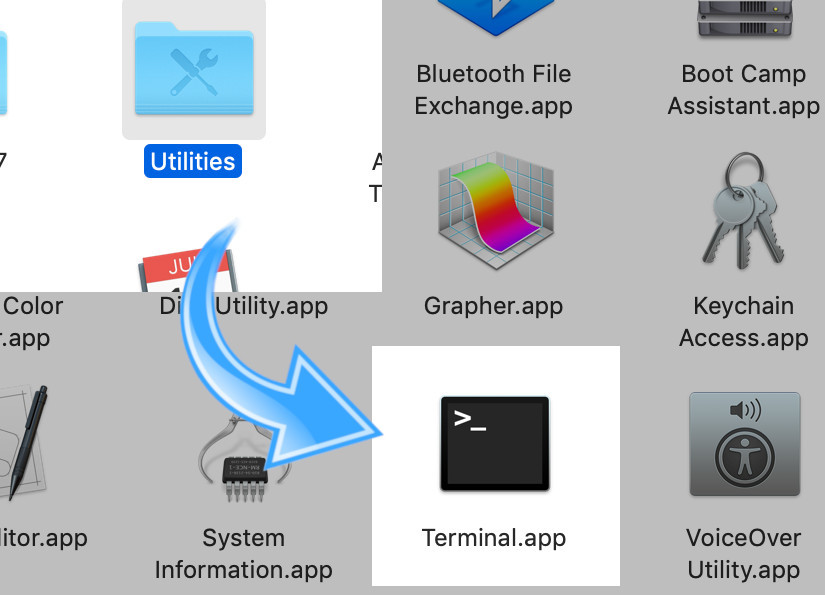
Use the cd command to navigate to the PostgreSQL directory. You can do this by typing the directory path into the terminal prompt and pressing Return:
| 1 | cd /Library/PostgreSQL/11 |
Then, use the rm -rf command to remove the directory and its contents:
| 1 | sudo rm -rf |
Don’t forget to empty the Trash application’s contents when you are finished.
Uninstall the Homebrew installation of PostgreSQL on macOS
You can use the brew command in a macOS terminal window to remove the Homebrew version of PostgreSQL. First, use the list command to return all of the applications installed using Homebrew:
| 1 | brew list |
Then, use the following command to force the removal the Homebrew installation of postgresql:
| 1 | brew uninstall –force postgresql |
Conclusion
If you find yourself needing to uninstall PostgreSQL, it’s important to do a careful and thorough job. Taking shortcuts when it comes to the removal process can leave sensitive data remaining on your machine. In this article, we explained how to uninstall and remove PostgreSQL from Windows, Linux and macOS. With the step-by-step instructions detailed in this tutorial, you’ll be ready to remove PostgreSQL from any of your own machines.


