This guide will have two parts. The first one will be Installation and Configuration of Root Certificate Authority and the second one will be the post configuration settings.
Installation of Root certificate Authority
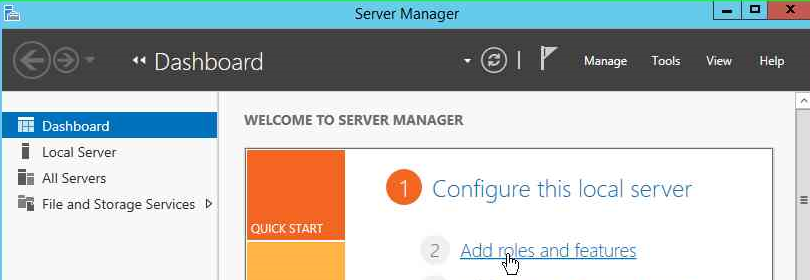
Open Server Manger, click on Add Roles and Features from the dashboard.
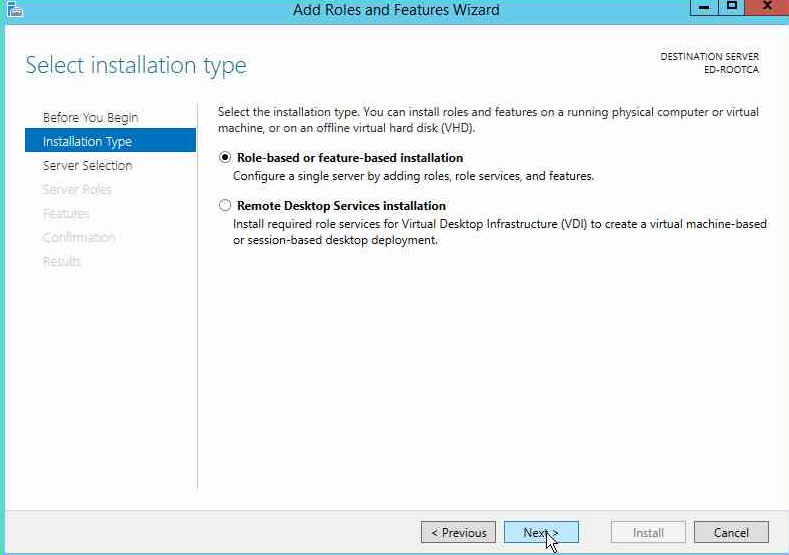
Next select the Role based or feature based installation and click Next.
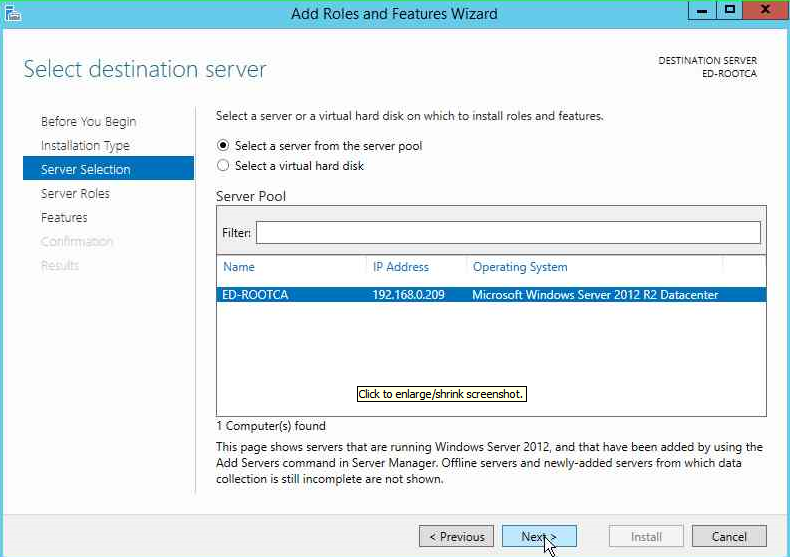
On the next page, select the local server and click on Next.
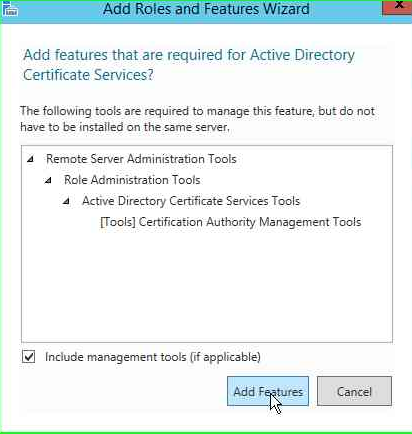
On the Next page, select the Active Directory Certificate services and click Next, also you will get a confirmation to Add the required features, select Add Features and move next.
On the next page you will asked for installing the Role Services. In our demonstration, we will just be selecting Certificate Authority.
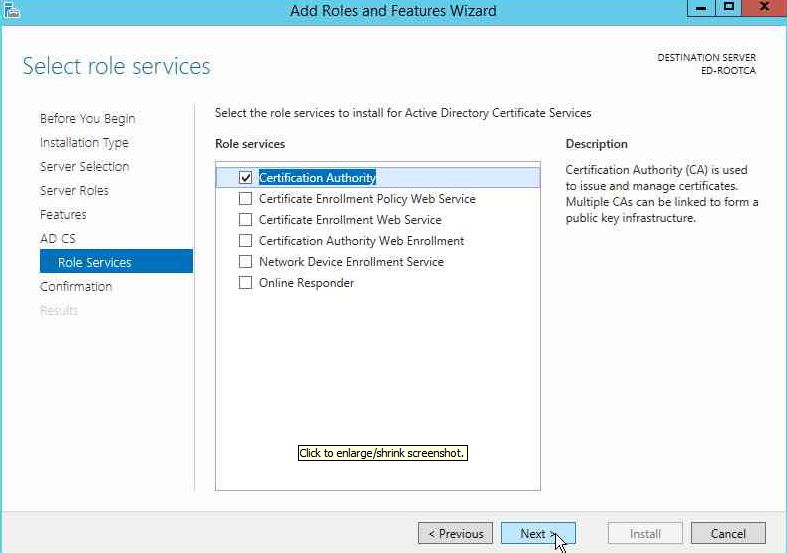
Now you can move ahead by clicking the install button and the Role will be installed on the server.
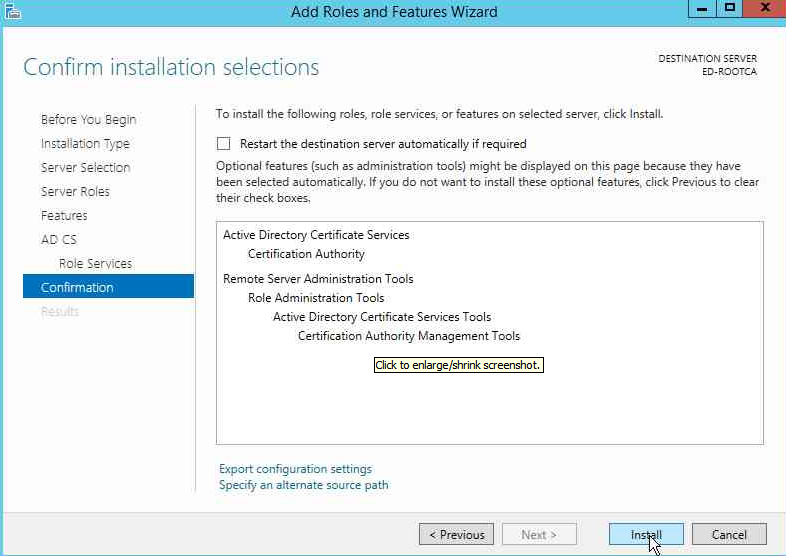
Configuration of Root certificate Authority
Now that we are finished with the installation of the Root CA, we will have to do the basic configuration of the Certificate Authority so that we can start issuing certificates to the subordibate CA’s or clients.
Click on AD CS on the left hand side of the Server Manager screen and click on More as shown in the figure.
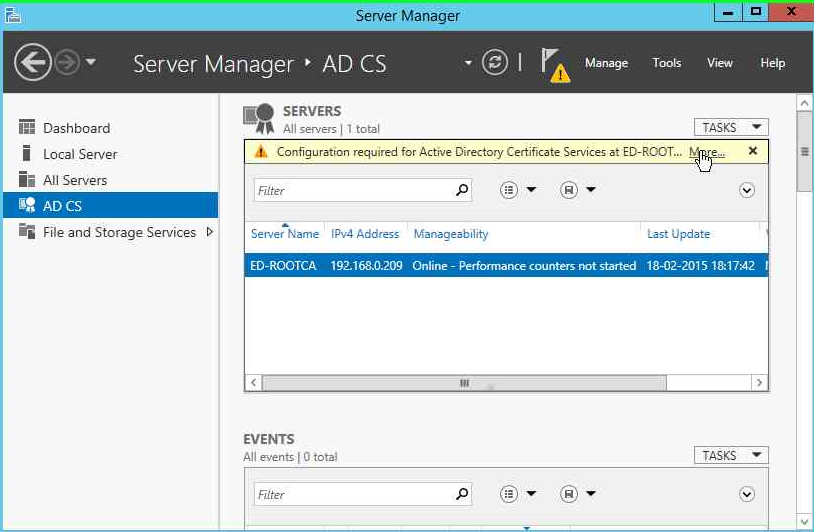
Now click on the Configuration option.
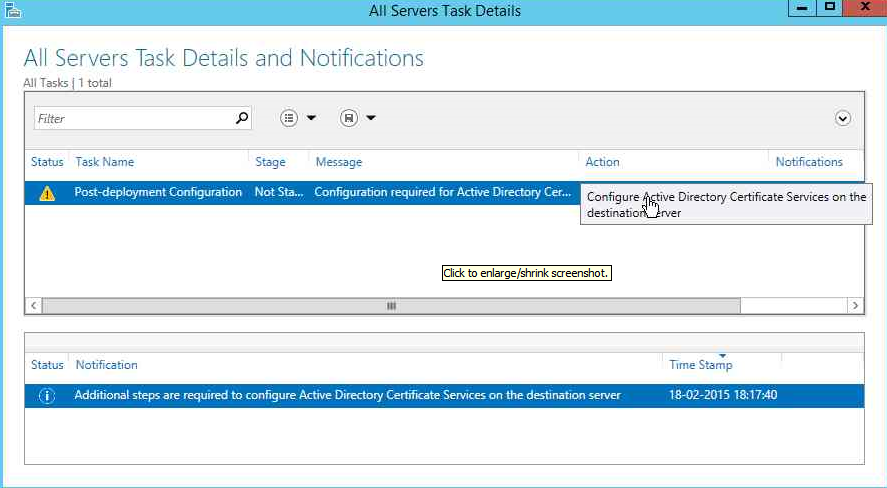
Specify the Administrator account that will be used to configure. in our demonstration, we will use local admin account of the machine.
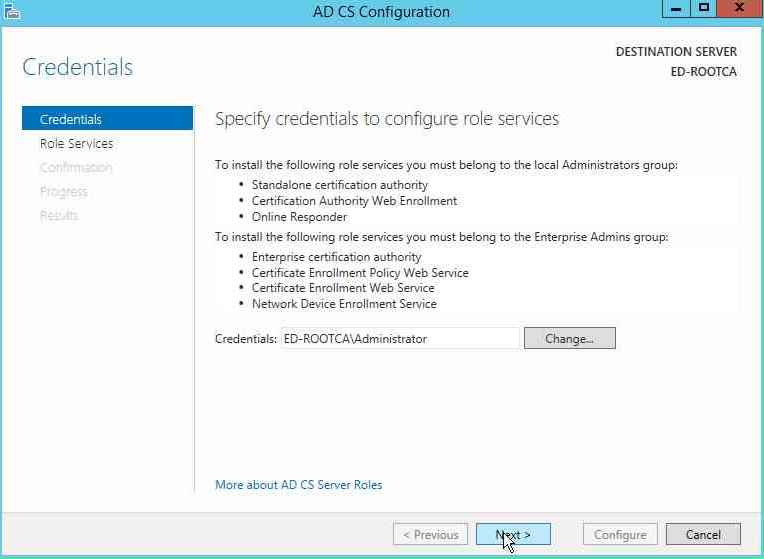
Select the Services that we are configuring, in our case we have only one, select Certificate Authority and click Next.
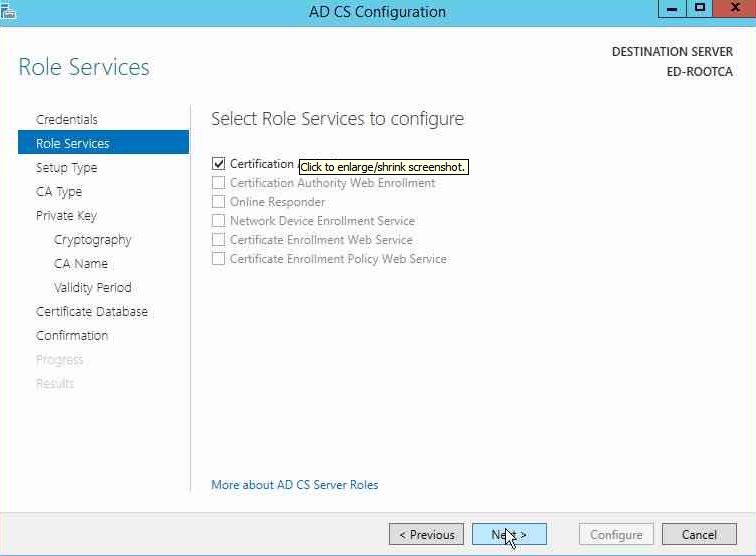
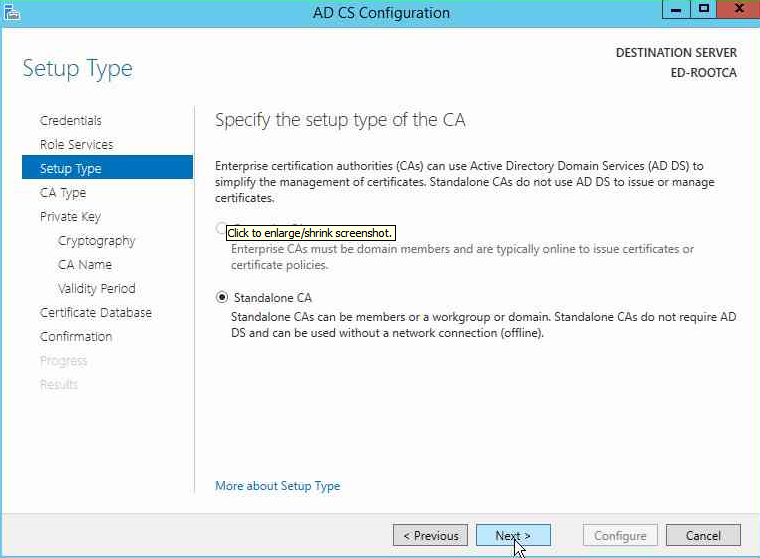
Next you will be asked to select the type of CA, since we are not connected to the domain, the Enterprise CA option is automatically greyed out. So we will select Standalone CA.
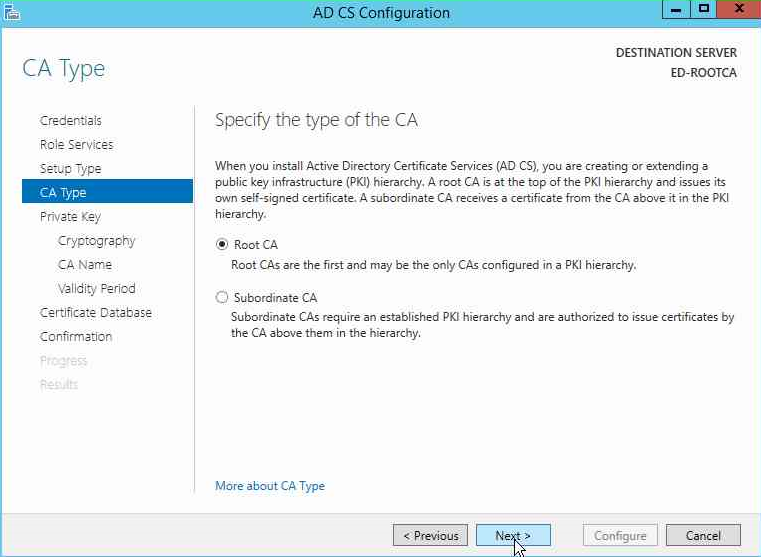
Next we want to select the Root CA.
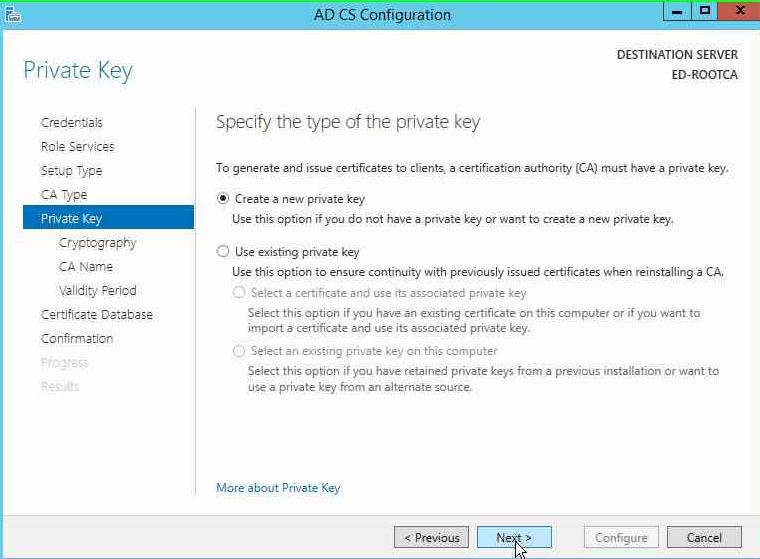
In the next step, we will create a New Private Key. You can import the Old private in case your old Root CA has crashed or something like that.
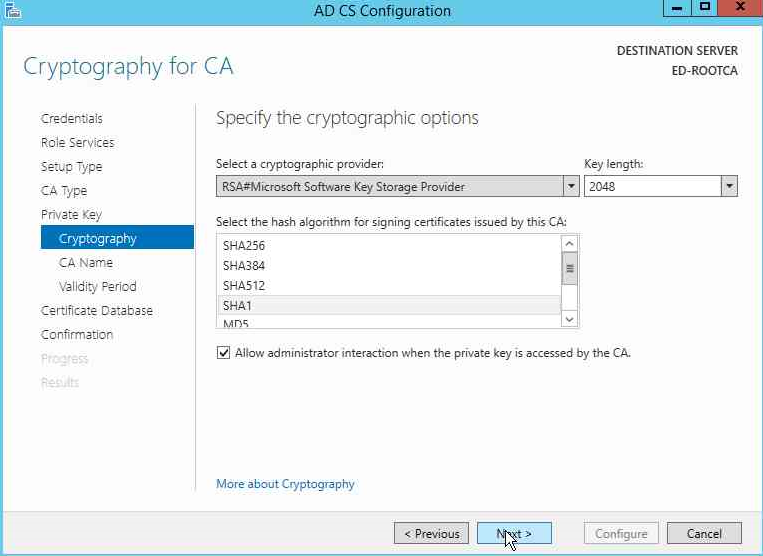
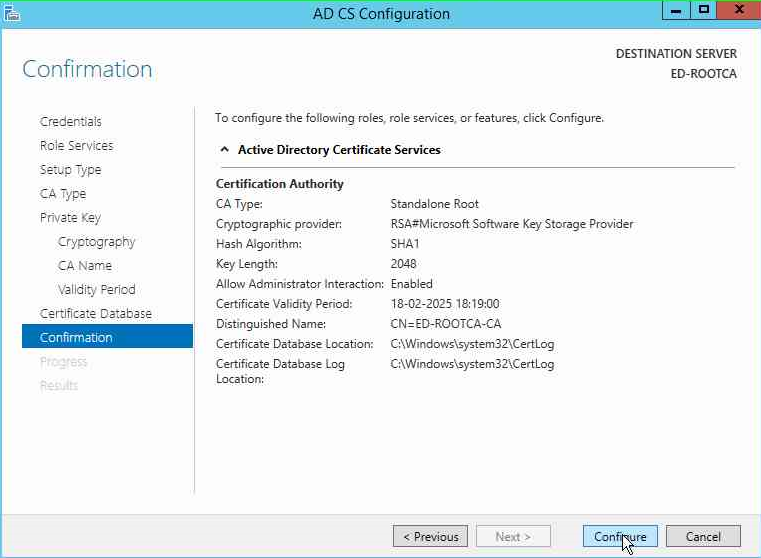
We will select the defaults in the next page for the cryptographic provider, Key length as 2048, and hash algorithm as SHA1 as these are compatible with most devices.
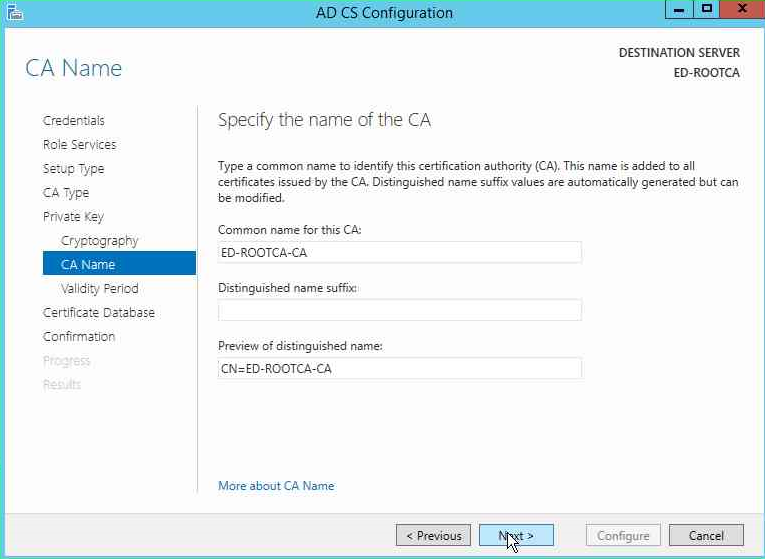
Next we will specify the name of the Root CA.
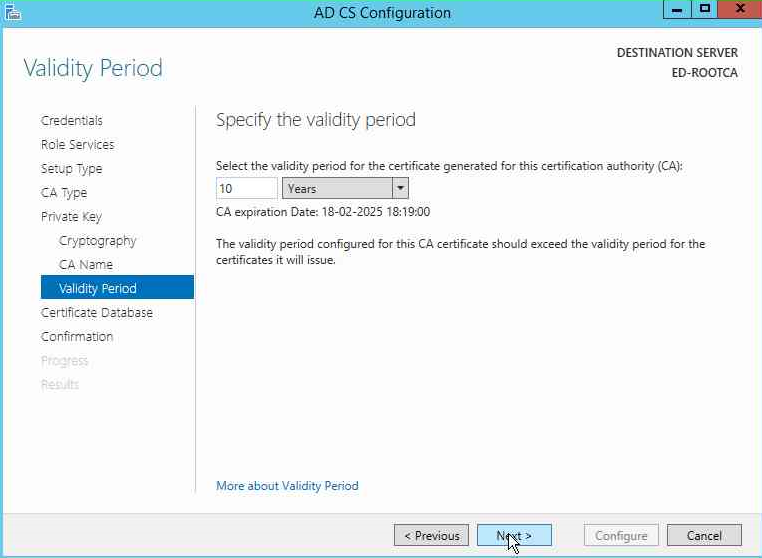
On the next page, we want to select the Validity period. We will setting it 10 years and not the dedault 5 years as it is very common for the Root CA to have such a high value.
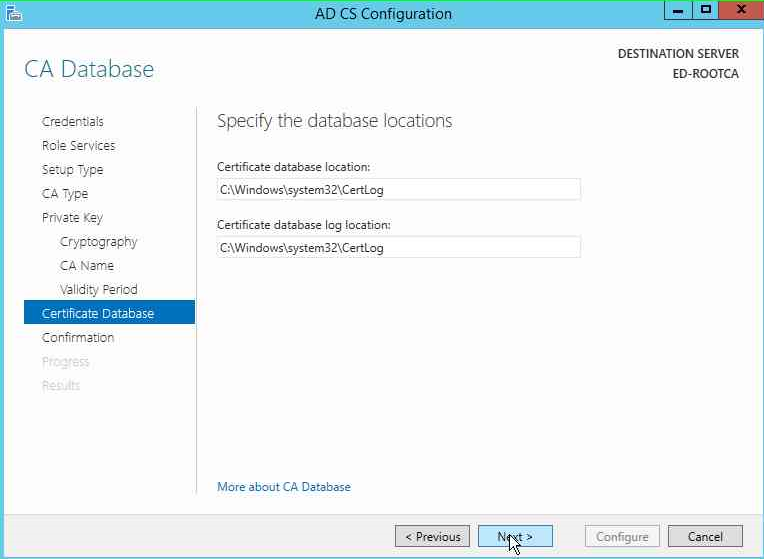
Next page, we will leave the Database and Database log locations as default.
Now you will be presented with the summary page with all the selections that you made. Click on Configure.
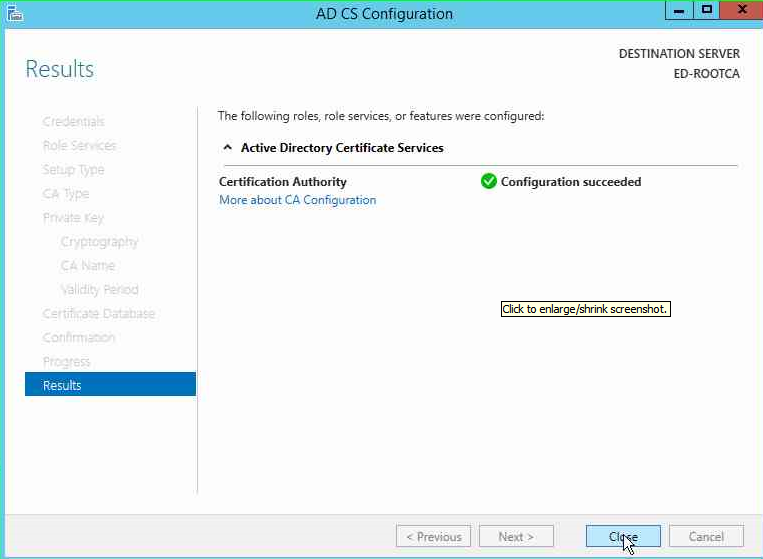
You will mow be presented with the confirmation page.
View the certficate
Now that we are done with the configuration as well, let us see the certificate that the Root CA generated. Click on Tools from the Server Manager and select Certification Authority.
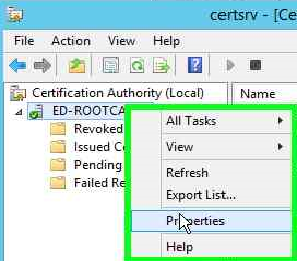
On the new window, select the server and right click to select Properties.
Now click on View certificate on the General tab.
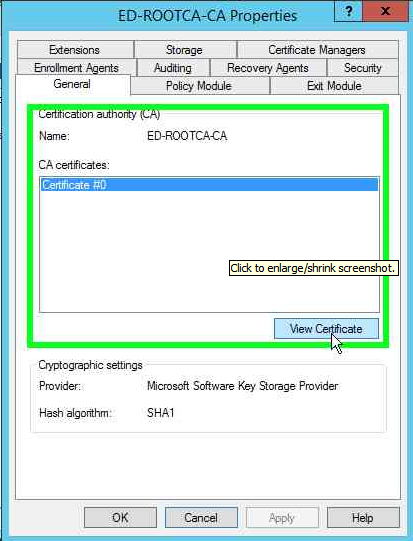
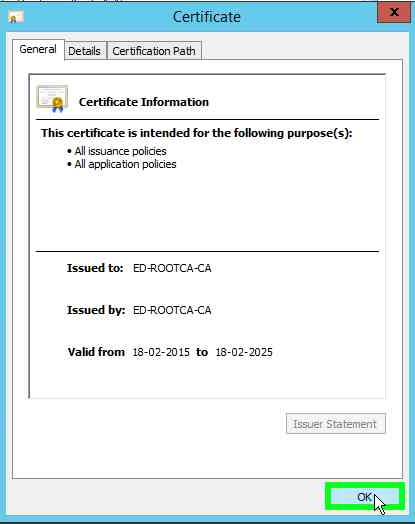
As you can see below that the certificate is self signed and is valid for 10 years as we specified during the configuration. You will be able to see the other configuration settings in the details tab. Feel free to explore.
Post Configuration settings
The following commands needs to be run in order to finish the configuration of the Root CA and should be run before any certificates are created.
This command configures the domain that will be embedded in each certificate that is created by the Root CA.
Certutil-setreg CA\DSConfigDN CN=Configuration,DC=enterprisedaddy,DC=com

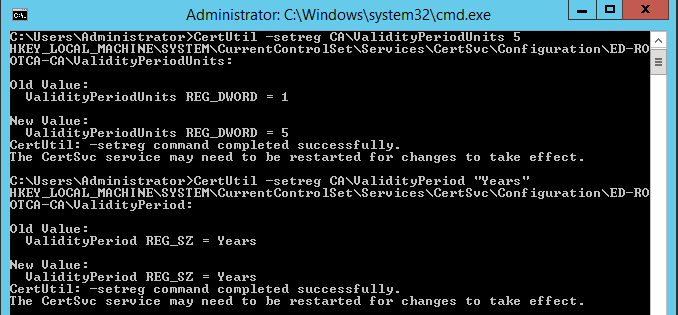
These two commands configure the time period that certificates issued from the Root CA will be valid. In this case, they are set to 5 years, half the time period of the root CA. This setting should be at least half of the root CA.
Certutil -setreg CA\ValidityPeriodUnits 5

Certutil -setreg CA\ValidityPeriod "Years"
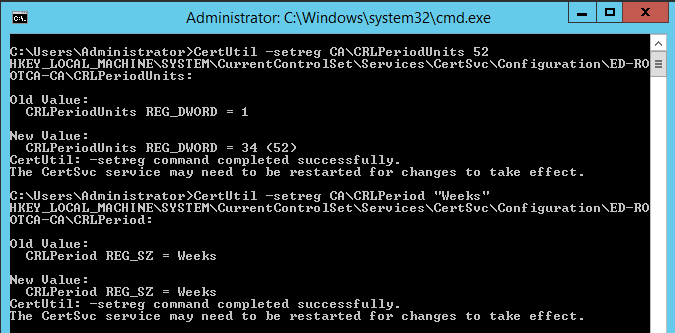
These two commands determine how long a CRL (Certificate Revocation List) is valid from. In this case this means that after 52 weeks the CRL will be recreated rather than being updated.
Certutil-setreg CA\CRLPeriodUnits 52

Certutil-setreg CA\CRLPeriod "Weeks"
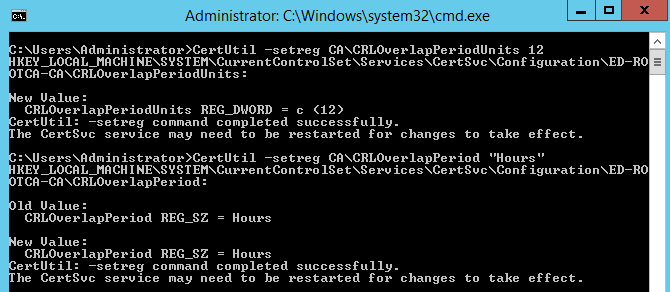
These two setting determine the overlap period for CRL’s.
Certutil-setreg CA\CRLOverlapPeriodUnits 12

Certutil-setreg CA\CRLOverlapPeriod "Hours"
Publishing the CRL and finalising the root CA set up
For this step you need to go to the properties of the Root CA and click on the Extensions tab. You will now have to add the AIA and CRL points for the Subordinate CA.
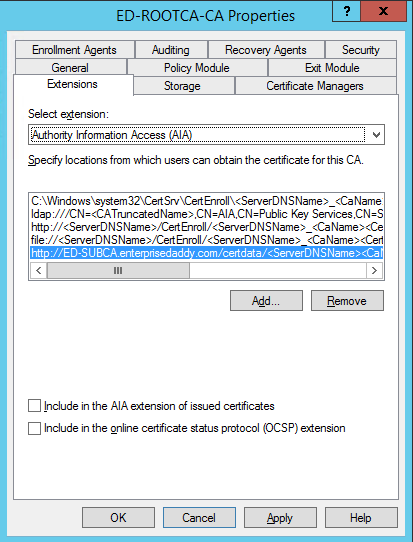
First we will add the Authority information Access details. Select Extension and click on Add.
Type the name of the SubCA, in our case it will be http://ED-SUBCA.enterprisedaddy.com and click on Insert. The final value should look like below:
http://ED-SUBCA.enterprisedaddy.com/certdata/
Next we will add the CRL point for the SubCA.
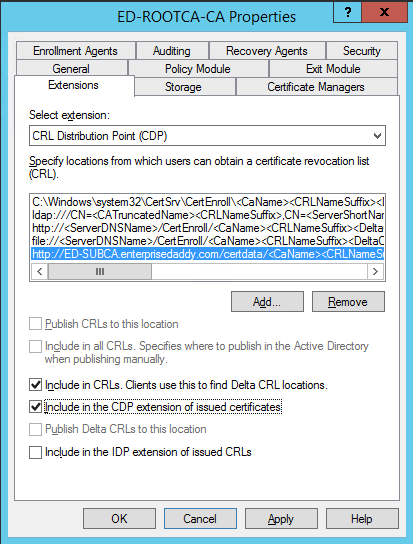
Like done previously, you will have to select the CRL distribution point from the extensions and final value should like the below. Do not forget to add .crl extension at the end.
And also be sure check the first two options as seen below.
http://ED-SUBCA.enterprisedaddy.com/certdata/.crl
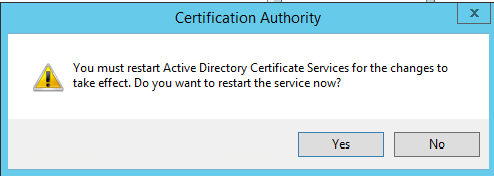
Click on OK next, it will prompt a message asking you to start the Active Directory Certificate Services. Click on Yes.
By doing this step, we have made the Root CA aware of the Sub CA.
Next we will be publishing the Revocation list. To do so, we need go to the Revoked certificates and Right Click > All Tasks > Publish.
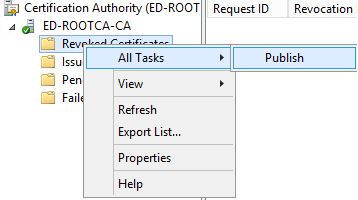
A pop comes up, select New CRL as this is the first one that we are publishing and click on OK.
That’s it! You have now successfully configured the Root CA to issue the certificates.
Got a project that needs expert IT support?
From Linux and Microsoft Server to VMware, networking, and more, our team at CR Tech is here to help.
Get personalized support today and ensure your systems are running at peak performance or make sure that your project turns out to be a successful one!
CONTACT US NOW

