Today we will be seeing how to create Shared Mailbox in Exchange Server 2010.
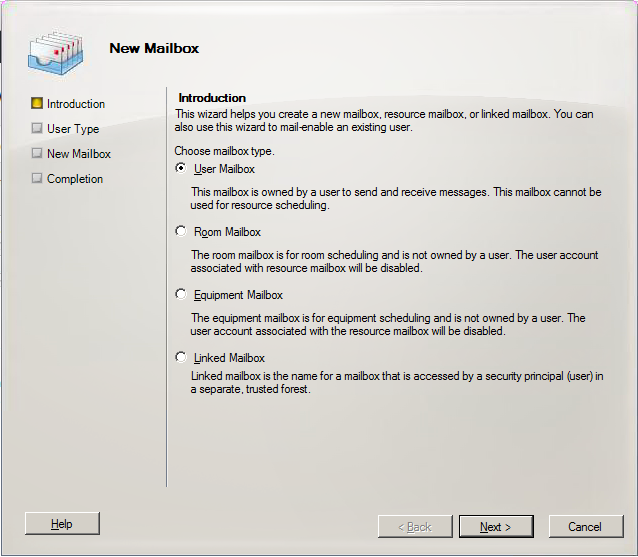
Before we move ahead with the creation part, let us first see the different type of mailboxes that are present in Exchange Server 2010. Once you open up the New Mailbox wizard, you will see the below options as seen in the screenshot.

You must have noticed that we did not see the shared mailbox option available to us, this is because the shared mailbox can be created only from the Exchange Management Shell.
A shared mailbox is a common mailbox that a group of users can open to read and send e-mail messages. It allows users to share a common calendar or a shared contact list.
So now you need to fire up an EMS console to start following up. I will be doing this in my lab environment.
Create shared mailbox in Exchange Server 2010
The cmdlet used to create the shared mailbox is New-Mailbox like you would use for any other mailbox.
For creating shared mailbox in Exchange Server 2010, we would use the below command.
New-Mailbox -Name <Maibox Name> -Alias <Alias> -OrganizationalUnit "<OU path>" -Database "<Database>" -UserPrincipalName <E-mail Address> -Shared
The above command covers the absolute minimum parameters that are required to create a shred mailbox. Let us go over it.
- Name parameter requires you to provide the name of the mailbox.
- Alias parameter is a must from Exchange Server 2010.
- OrganizationalUnit is where the user account for the mailbox will reside.
- Database parameter asks you to specify on which the mailbox will reside.
- UserPrincipalName will be used for logon details.
- Shared parameter converts it to a shared mailbox.
Without the shared parameter, the above command will create a normal user mailbox.
Providing permissions to a shared mailbox
Add-MailboxPermission -User "<domain\username>" -AccessRights FullAccess
|
1
2
3
|
<strong>Add–ADPermission –User “<domain\username>” –ExtendedRights Send–As
</strong>
|
The above two commands will provide the necessary permissions for the users to open and read email messages from this shared mailbox and also send emails from the shared mailbox.
The first command provides Full Access to the user on the shared mailbox.
The second command provides the user with the Send As permission on the shared mailbox used to send emails.
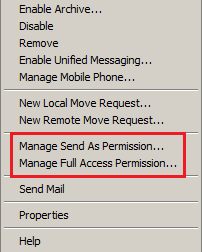
These two steps can also be done from the Exchange Management Console once the shared mailbox is created by just right clicking and selecting the appropriate options.

You could also convert a user mailbox to a shared mailbox if the need arises. In that case you would use Set-Mailbox to perform the activity.
The syntax for this would be as seen below.
Set-Mailbox “” -Type shared
I hope that this article has shed some light on shared mailboxes,
Got a project that needs expert IT support?
From Linux and Microsoft Server to VMware, networking, and more, our team at CR Tech is here to help.
Get personalized support today and ensure your systems are running at peak performance or make sure that your project turns out to be a successful one!
CONTACT US NOW

