In this post, we will see how to install a replica read-only domain controller to an existing Active Directory domain.
You will see that from an installation perpective, the process does not differ much from a standard domain controller installation.
The name of the domain is still SRO-LH.local.
I have installed a new server, SRO-LH-03 and run the command dcpromo.exe.
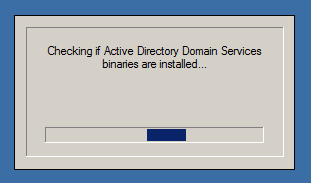
The first thing the process does is to check whether the ADDS binaries are installed on the server:
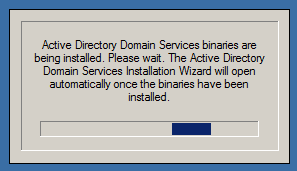
As this is is a brand new system, neither the ADDS role not the binaries are installed. So, this is taken care of:
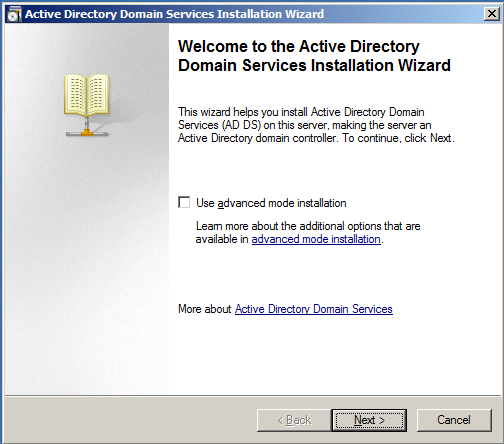
Welcome screen of the ADDS Installation Wizard:
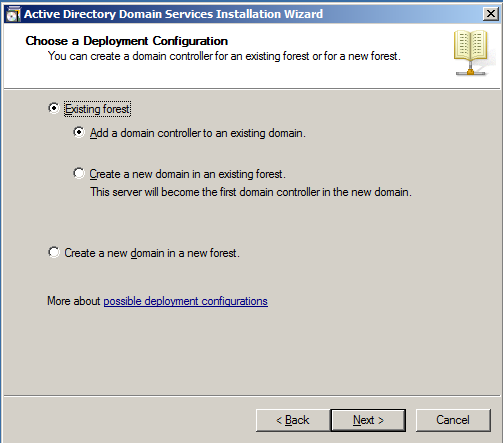
Yes, we want to add a new domain controller to an existing domain:
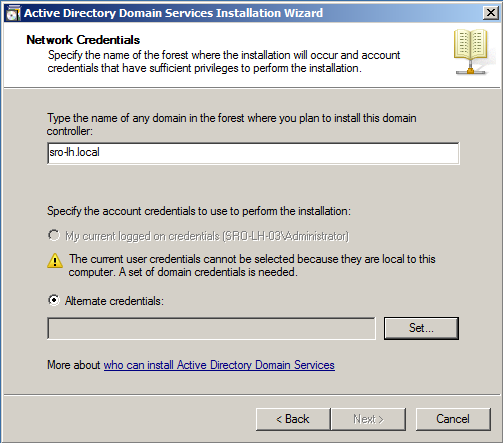
We have to specify the name of the domain in which we want to install the additional domain controller:
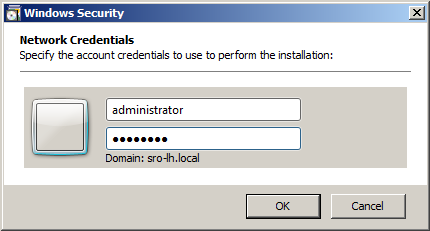
At this moment in time, I am logged on as a local administrator of the server and have therefore no right to perform the ADDS installation. For this reason, I specify some alternate credentials, i.e. the domain’s administrator credentials, by clicking on the Set… button:
Confirmation:
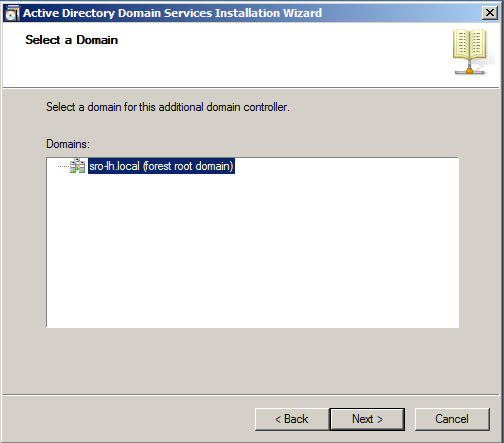
Then, we need to confirm the domain for this additional domain controller:
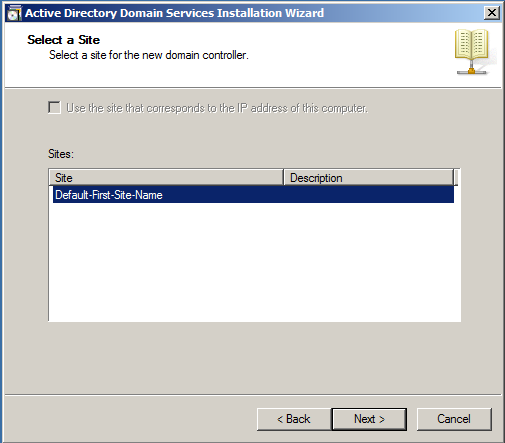
We also need to define in which Active Directory site the new domain controller will be put:
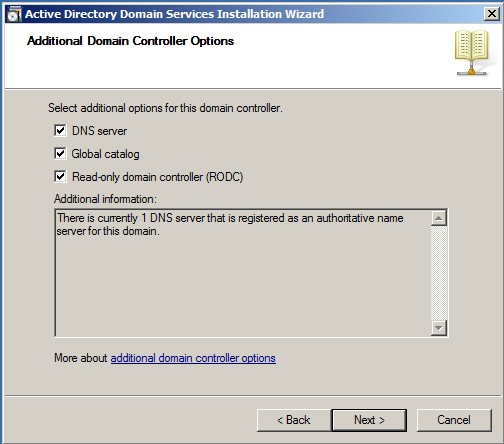
On this page, we explicitly specify that we want to make the server a RODC:
As per Microsoft Technet article, you can perform an installation of an RODC in which the installation is completed in two stages by different individuals.
- The first stage of the installation, which requires domain administrative credentials, creates an account for the RODC in AD DS.
- The second stage of the installation attaches the actual server that will be the RODC in a remote location, such as a branch office, to the account that was previously created for it. You can delegate the ability to attach the server to a nonadministrative group or user, which is a feature I find pretty neat from the deployment perspective.
During this first stage, the wizard records all data about the RODC that will be stored in the distributed Active Directory database, such as its domain controller account name and the site in which it will be placed. This stage must be performed by a member of the Domain Admins group. The administrator who creates the RODC account can also specify at that time which users or groups can complete the next stage of the installation.
The next stage of the installation can be performed in the branch office by any user or group who was delegated the right to complete the installation when the account was created. This stage does not require any membership in built-in groups, such as the Domain Admins group. If the user who creates the RODC account does not specify any delegate to complete the installation (and administer the RODC), only a member of the Domain Admins or Enterprise Admins groups can complete the installation.
During the second stage, the wizard installs AD DS on the server that will become the RODC and attaches the server to the domain account that was previously created for it. This stage typically occurs in the branch office where the RODC is deployed. During this stage, all AD DS data that resides locally, such as the database, log files, and so on, is created on the RODC itself.
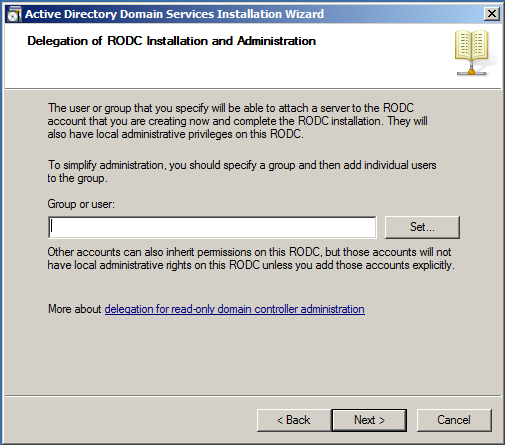
At this point of the installation process, we can specify any group or user who will later be able to install and manage the RODC. As we are not in such deployment scenario, we leave the field empty:
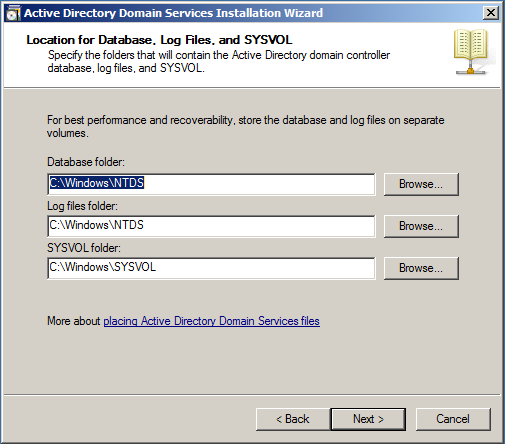
The next step is about specifying the folders for the AD database, the log files and the SYStem VOLume:
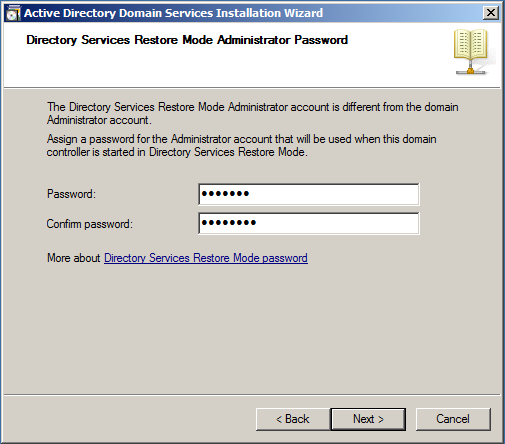
Then, we specify the Directory Services Restore Mode (DSRM) password for the Domain Controller:
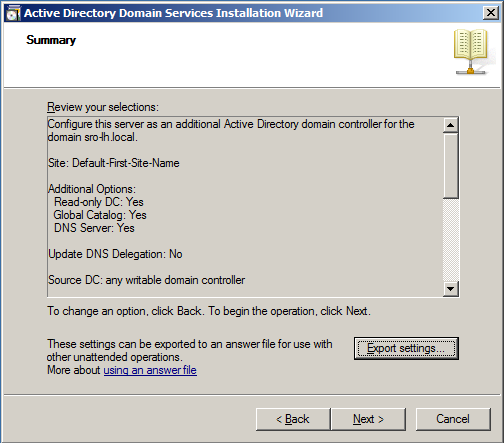
The wizard offers to review all the options selected and even provides a way to export the settings to an answer file for future re-use:
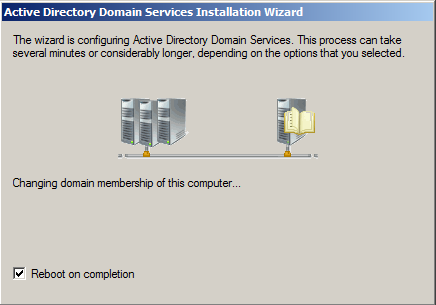
Finally, the actual installation and replication process starts. You also have the possibility to decide whether you want the server to reboot automatically at the end:
This concludes the installation of the RODC in itself.
Bonus 🙂
Here is a video link that shows you how to setup and utilize RODC on Server Core ….Enjoy!
Free Server Core Training: Setup and Utilize RODC on Server Core
Got a project that needs expert IT support?
From Linux and Microsoft Server to VMware, networking, and more, our team at CR Tech is here to help.
Get personalized support today and ensure your systems are running at peak performance or make sure that your project turns out to be a successful one!
CONTACT US NOW

