Roaming Profiles allow users of an Active Directory Domain to access their desktop and documents from any PC of the domain.
It’s a powerful feature that can improve the productivity of the employees and make their lives easier.
The best thing about Roaming Profiles is how they are easy to set up.
Before configuring a Roaming Profile, we need to create a Share. Open the Server Manager and go to the Shares tab:
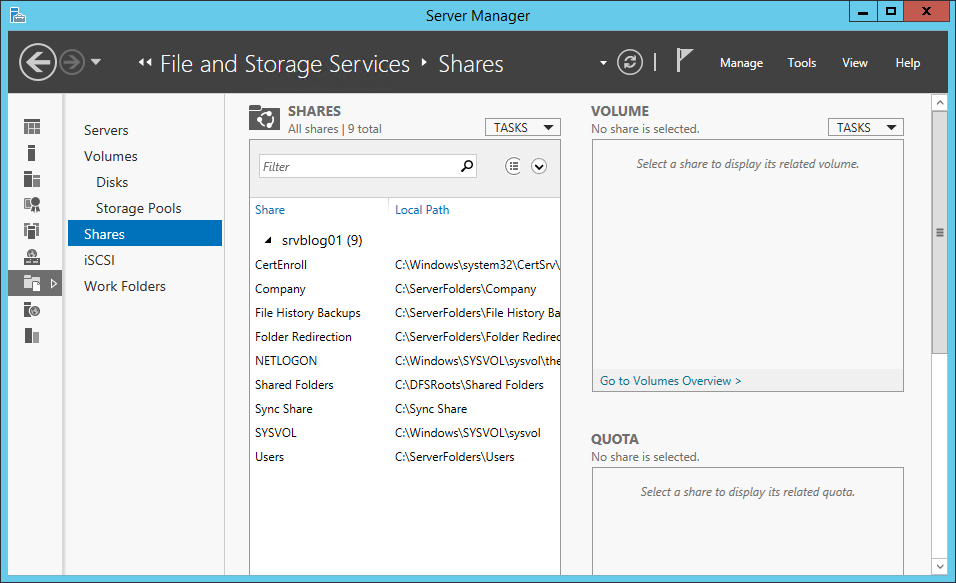
Create a new Share:
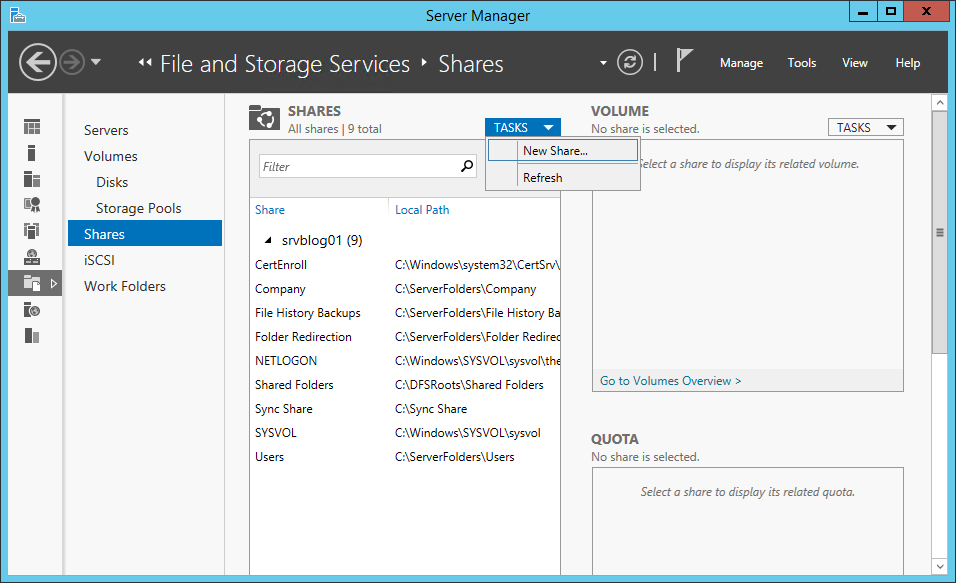
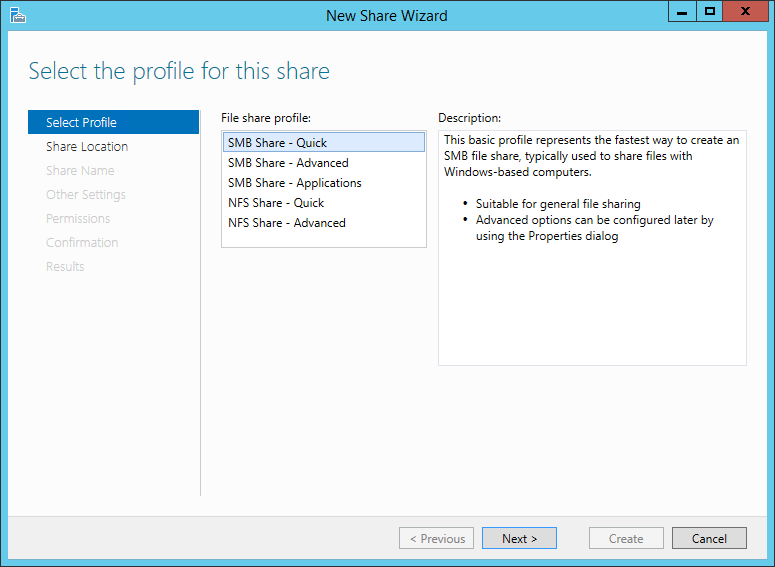
Click Next:
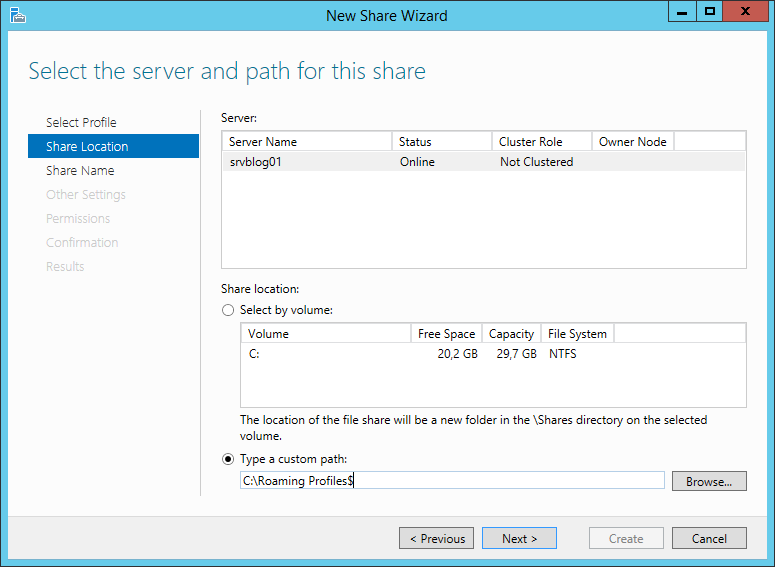
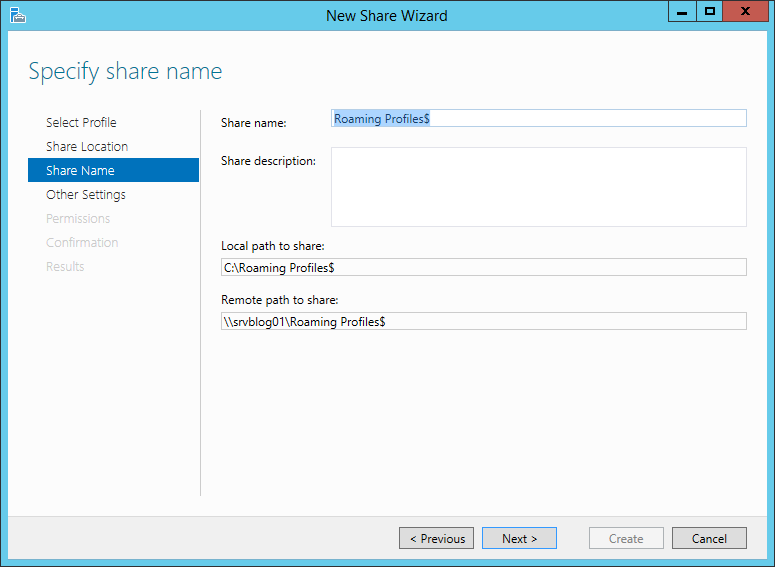
Specify the path of the Roaming Profiles. Add a $ to the end of the path to make the shared folder invisible:
Click Next:
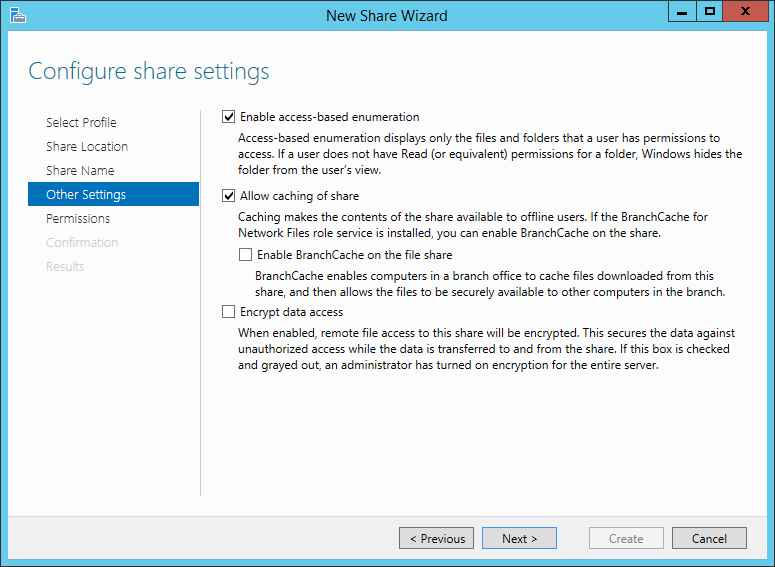
Enable access-based Enumeration (for better security):
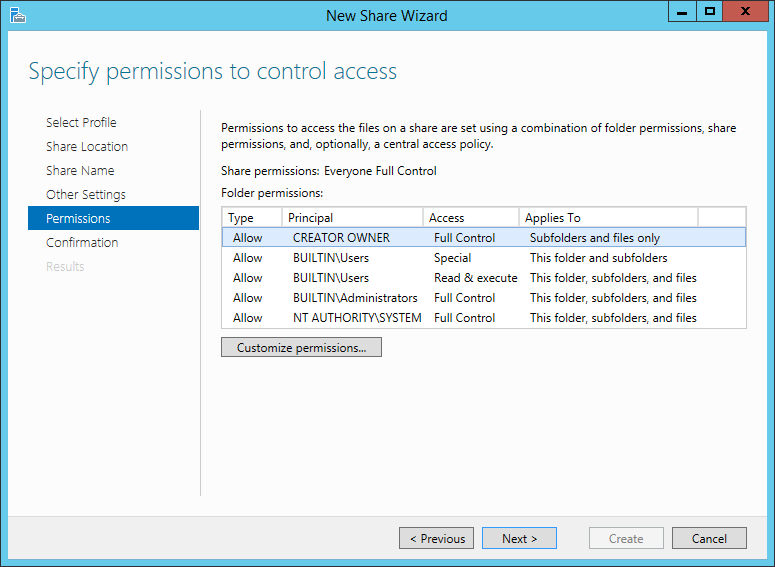
Now it’s time to customize the permissions. We need to allow the access to Domain Users (or another Group). Click Customize permissions:
Click Add:
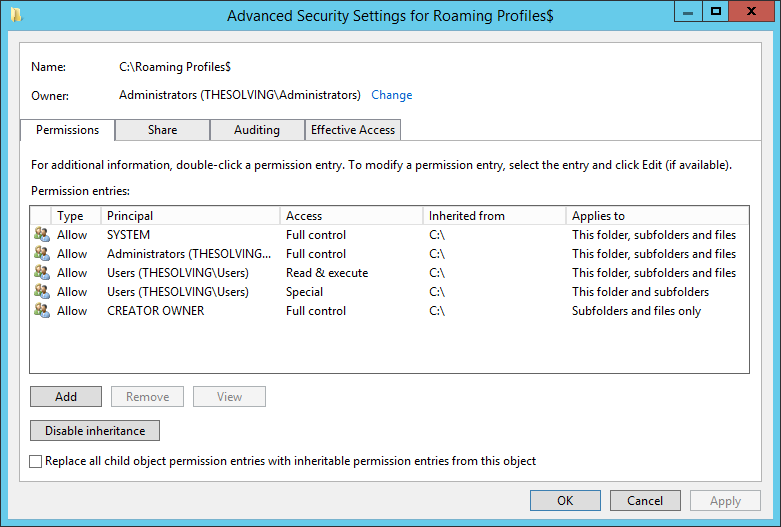
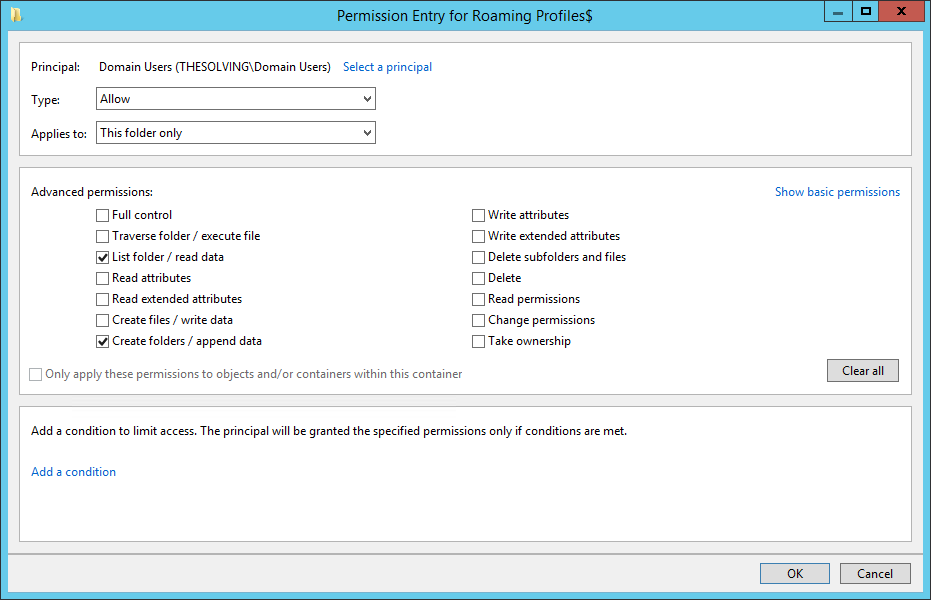
Select the group (Domain Users in our example) and apply the permissions to This folder only. You need to enable List folders / read data and Create folders / append data:
Confirm and the share will be created:
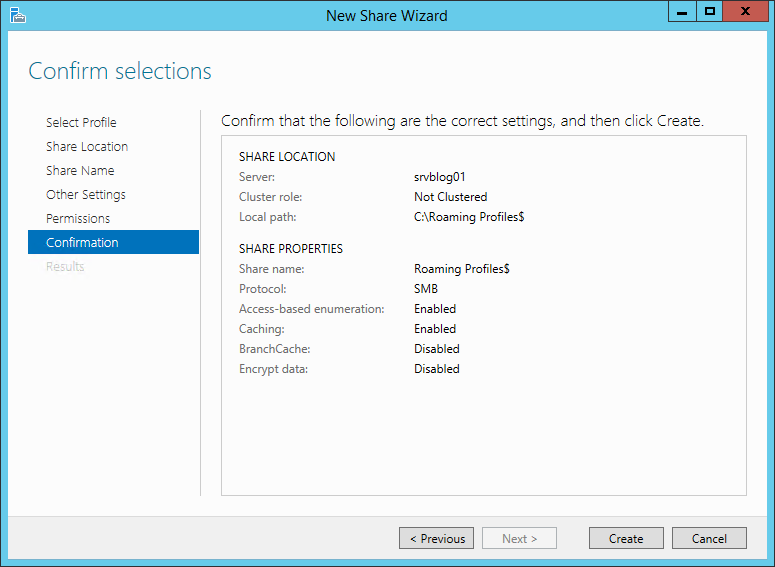
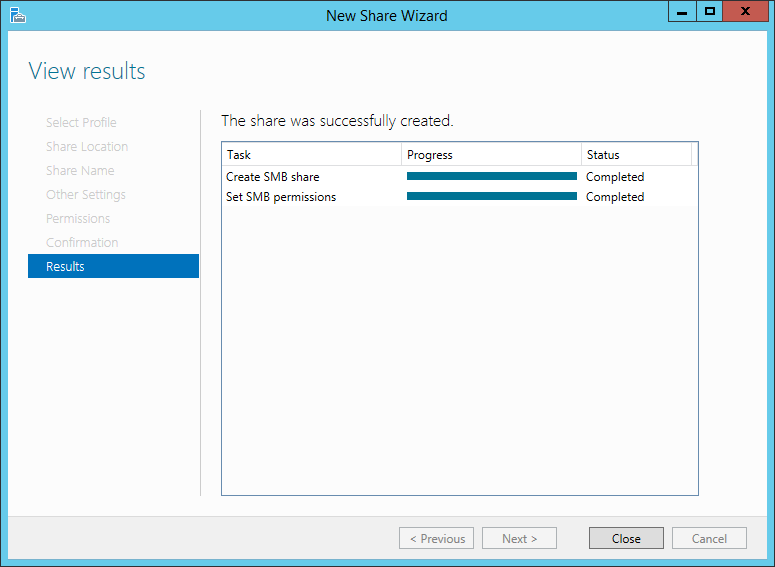
Now the final step. Open the Active Directory Users and Computers panel:
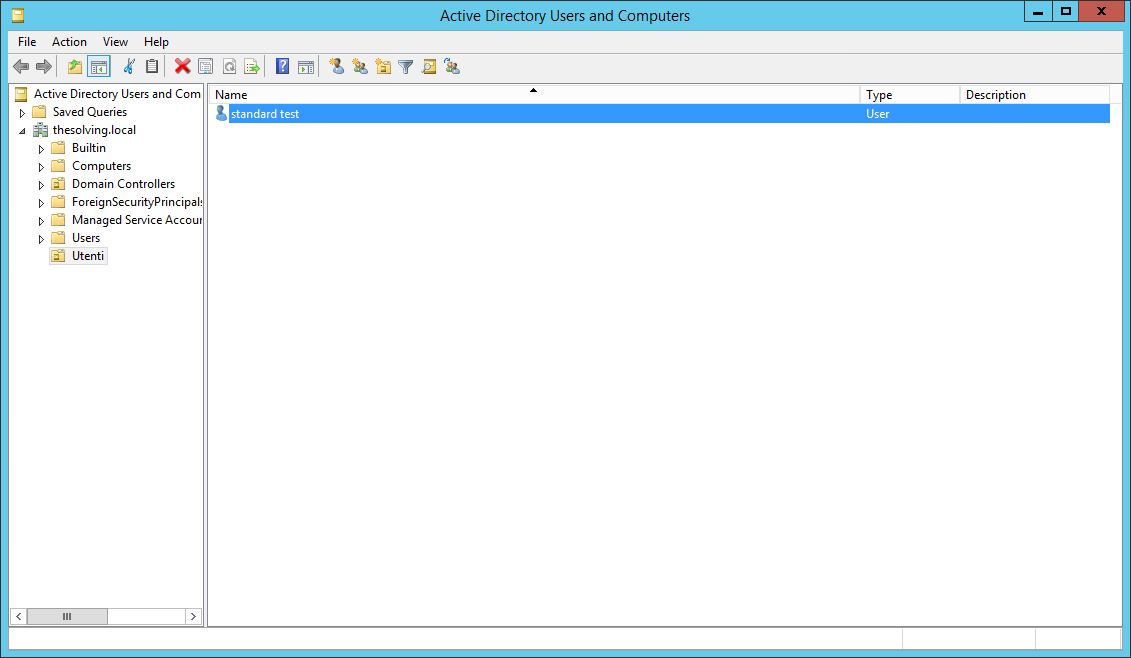
Open the Properties of a user and go to the Profile tab. Specify the Profile Path:\\server_name\profile_folder_name\%username%
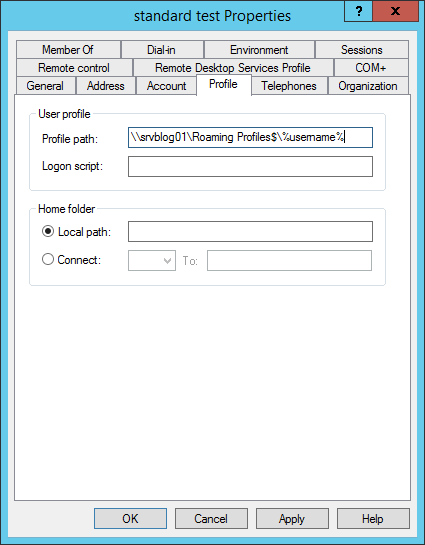
Mission accomplished! Your first Roaming Profile is enabled and active. To create other Roaming Profiles use the copy functionalities or manually specify the Profile Path.
Got a project that needs expert IT support?
From Linux and Microsoft Server to VMware, networking, and more, our team at CR Tech is here to help.
Get personalized support today and ensure your systems are running at peak performance or make sure that your project turns out to be a successful one!
CONTACT US NOW

