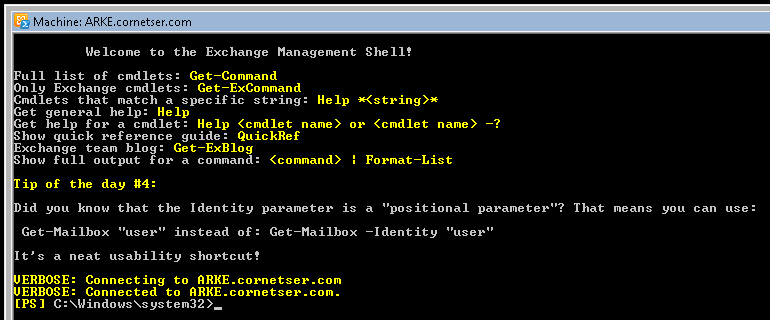
As an Exchange and Active Directory administrator you may be asked at some point to make a new distribution group from one or more other distribution groups. Exchange 2010 and PowerShell make this a very easy task. So to get started log in to your exchange server and open your Exchange Management Console.

Now we need to create the new distribution group by running the following command. Replace (GroupX) with the name of the group you want to create, replace the OrganizationalUnit with the location you want the group to show up in under Active Directory and change the SAM account name to your group name.
New-DistributionGroup -Name “GroupX” -OrganizationalUnit “cornetser.com/Users” -SamAccountName “GroupX” -Type “Distribution”
![]()

Next lets list out our existing Distribution Group to see who we will be coping to the new group.
Get-DistributionGroupMember “Florida”

Now we need to add the Distribution Group Members from “Florida” distribution group to the new GroupX distribution group.
Get-DistributionGroupMember “Florida” | Get-Mailbox | Add-DistributionGroupMember “GroupX”
![]()
To add more groups to the GroupX distribution groups rerun the same command as above with new group name to copy from in the “Get-DistributionGroupMember” section. Any duplicate members will error out as a duplicate and will be skipped as the list is copied so you will have a nice clean list once completed.
Got a project that needs expert IT support?
From Linux and Microsoft Server to VMware, networking, and more, our team at CR Tech is here to help.
Get personalized support today and ensure your systems are running at peak performance or make sure that your project turns out to be a successful one!
CONTACT US NOW

