Deployment of an Exchange Server 2013 server goes through three main stages.
- Preparing Active Directory (if you are installing Exchange Server 2013 for the first time)
- Installing the Exchange Server 2013 pre-requisites on the server
- Running Exchange Server 2013 setup
Preparing Active Directory for Exchange Server 2013
When you are installing Exchange Server 2013 for the first time the Active Directory needs to be prepared.
There are a series of requirements for Active Directory preparation to be successful:
- Schema master running Windows Server 2003 with SP2, or a later version of Windows Server
- At least one Global catalog server per site that Exchange will be installed in that is running Windows Server 2003 SP2 or later
- At least one Domain controller per site that Exchange will be installed in that is running Windows Server 2008 or later
- Forest functional mode of Windows Server 2003 or higher
- An account with Schema Admins, Domain Admins, and Enterprise Admins permissions to run Exchange setup
Although Active Directory preparation can occur as part of the installation of the first Exchange Server 2013 server, you can also run the Active Directory preparation as a separate task beforehand on a 64-bit server running Windows Server 2008 or higher.
Because the Active Directory preparation requires the RSAT-ADDS tools I am running it on the domain controller in my test lab.
Alternatively, you can install the tools on a member server to run Exchange 2013 Active Directory preparation.
For Windows Server 2008 R2 (SP1 or later), in PowerShell run:
Import-Module ServerManager

Add-WindowsFeature RSAT-ADDS
For Windows Server 2012, in PowerShell run:
Install-WindowsFeature RSAT-ADDS
If you are installing Exchange Server in the AD forest for the first time run the following Exchange 2013 setup command to prepare Active Directory:
setup /PrepareAD /OrganizationName: "your organization name" /IAcceptExchangeServerLicenseTerms
Note: if your organization name contains spaces then it must be enclosed in quotes as shown above.
If an Exchange organization already exists you can omit the /OrganizationName parameter.
setup /PrepareAD /IAcceptExchangeServerLicenseTerms
Installing the Exchange Server 2013 Pre-Requisites
Exchange Server 2013 can be installed on either Windows Server 2008 R2 (SP1 or later) or Windows Server 2012. Depending on the server roles you are installing the pre-requisites vary.
- Installing Exchange Server 2013 Pre-Requisites on Windows Server 2008 R2
- Installing Exchange Server 2013 Pre-Requisites on Windows Server 2012
Installing Exchange Server 2013 Using the Setup Wizard
After installing the pre-requisites a restart of the server may be required. If you proceed without restarting then setup may be unable to proceed when it detects the pending restart.
From the location where you have stored your Exchange 2013 files run Setup.exe.
The first dialog gives you the opportunity to check for updates to the setup files before you proceed.
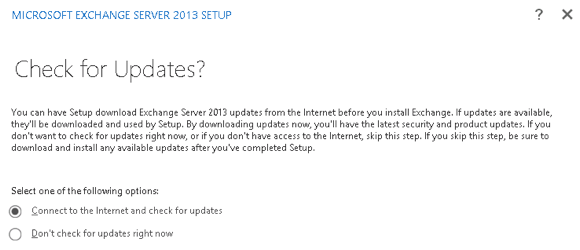
Check for updates to Exchange 2013 setup files
After the setup files have updated click Next to continue.
Click Next to continue past the Introduction message.

Exchange 2013 setup introduction
Accept the license agreement and click Next to continue.
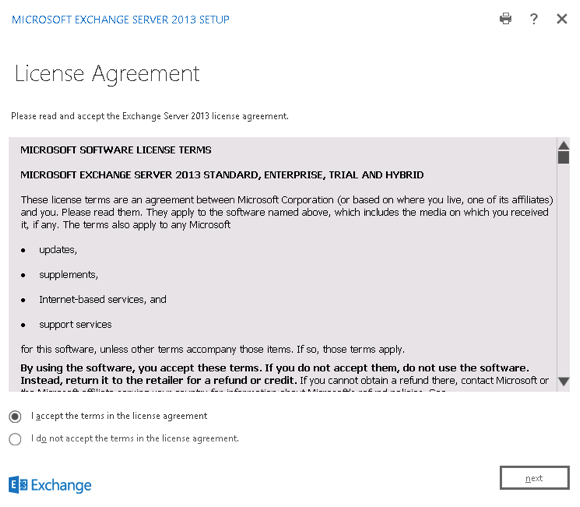
Exchange 2013 license agreement
Choose whether or not to enable Error Reporting and click Next to continue.
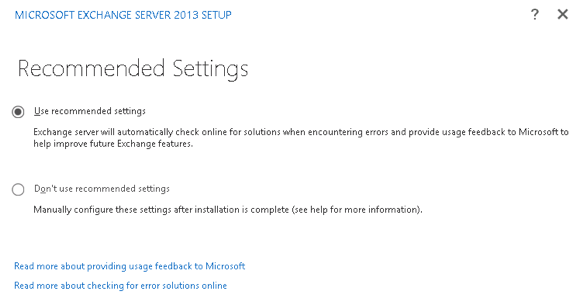
Configure Exchange 2013 error reporting
After a check that all the pre-requisites are installed the setup wizard will move on to the next step automatically (if the check was successful).
Now we can choose the server roles to install. If this is the first server you’re installing Microsoft recommends you install the Mailbox server role first (this can be either a Mailbox-only server or a combined Mailbox/Client Access server).
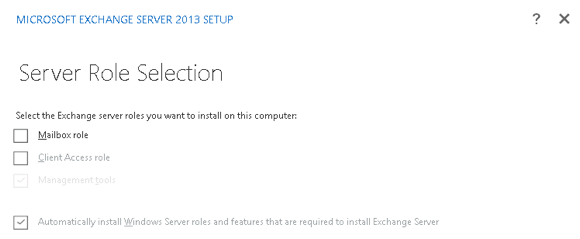
Choose the Exchange 2013 server roles to install
Verify that you have enough disk space for the installation, or choose a path that does have enough disk space, and click Nextto continue.
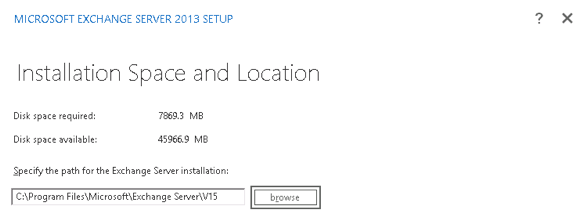
Choose the location to install Exchange 2013
If there is no existing Exchange organization in Active Directory, and you haven’t already prepared Active Directory for Exchange, you will be prompted to enter an Exchange organization name.
When installing the Mailbox server role you are given the option to disable malware protection. If you disable it now you can enable it again later.
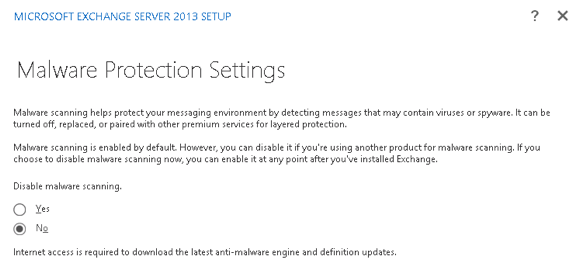
Configure anti-malware protection for the Mailbox server
Some readiness checks are performed. If this is the not the first server you’re installing and there is no Send Connector defined for outbound email then you may see a warning, but you can still proceed with the server installation.
Setup can’t detect a Send connector with an address space of ‘*’. Mail flow to the Internet may not work properly.

Exchange 2013 setup pre-requisite warning
When you are ready to proceed you can click Install to begin.
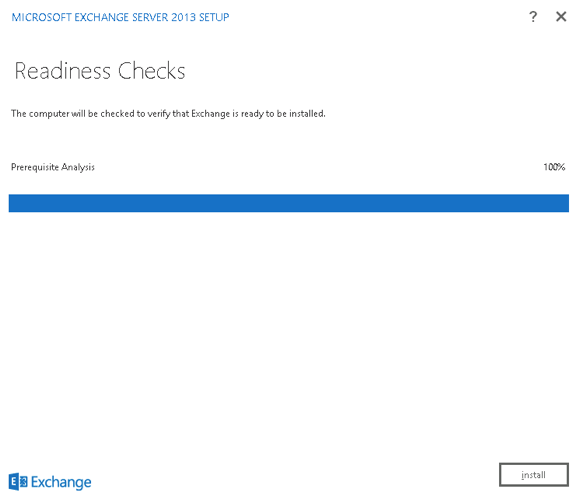
Begin the installation of Exchange 2013
The install is a fairly lengthy process, so you may want to go and do something else while you wait. When setup has finished click Finish.
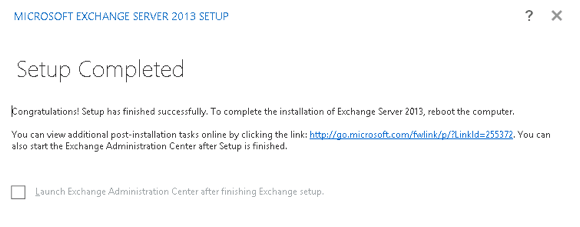
Exchange 2013 setup is finished
Got a project that needs expert IT support?
From Linux and Microsoft Server to VMware, networking, and more, our team at CR Tech is here to help.
Get personalized support today and ensure your systems are running at peak performance or make sure that your project turns out to be a successful one!
CONTACT US NOW

